Superliminal Walkthrough Guide
Author : Gabriel
May 08,2025
*Superliminal* is a captivating journey through a dreamlike world where perspective is key. This puzzle game will challenge your perception and problem-solving skills, and if you find yourself stuck, our comprehensive *Superliminal* walkthrough is here to guide you through each level and puzzle.
Table of contents
Play and Solve Superliminal With Our Full Walkthrough Level 1 – Induction Puzzle 1 Puzzle 2 Puzzle 3 Puzzle 4 Puzzle 5 Puzzle 6 Puzzle 7 Puzzle 8 Puzzle 9 Puzzle 10 Puzzle 11 Puzzle 12 Level 2 – Optical Puzzle 1 Puzzle 2 Puzzle 3 Puzzle 4 Puzzle 5 Puzzle 6 Level 3 – Cubism Puzzle 1 Puzzle 2 Puzzle 3 Puzzle 4 Puzzle 5 Puzzle 6 Puzzle 7 Puzzle 8 Level 4 – Blackout Puzzle 1 Puzzle 2 Puzzle 3 Puzzle 4 Puzzle 5 Level 5 – Clone Puzzle 1 Puzzle 2 Puzzle 3 Puzzle 4 Puzzle 5 Puzzle 6 Level 6 – Dollhouse Puzzle 1 Puzzle 2 Puzzle 3 Puzzle 4 Puzzle 5 Puzzle 6 Level 7 – Labyrinth Puzzle 1 Puzzle 2 Puzzle 3 Puzzle 4 Puzzle 5 Puzzle 6 Puzzle 7 Puzzle 8 Level 8 – Whitespace Puzzle 1 Puzzle 2 Puzzle 3 Puzzle 4 Puzzle 5 Puzzle 6 Puzzle 7 Level 9 – Retrospect Play and Solve Superliminal With Our Full Walkthrough
Before diving into the detailed Superliminal walkthrough, let's cover the fundamentals. In this game, you can't die—think of it as being inside your own mind. If you drop a huge block on yourself, it'll simply bounce off.
Start by exploring the practice room to familiarize yourself with the game mechanics. Pick up objects and experiment with them. If you release an object close to the ground or a wall, it will shrink. Conversely, releasing it when looking further away will make it grow. You can repeat this process to adjust the size of objects as needed. For instance, drop a pawn near the floor to shrink it, then pick it up and drop it again while looking at the opposite wall to make it larger.
Another key mechanic is perception: if you align objects in your view, they can materialize into something new. It might take some practice, but soon these techniques will feel intuitive. Here’s our detailed walkthrough for all nine levels of Superliminal.
Level 1 – Induction
 This level introduces you to the core mechanics of Superliminal.
Puzzle 1
Start by signing the contract if you wish, then proceed down the corridor to the next room.
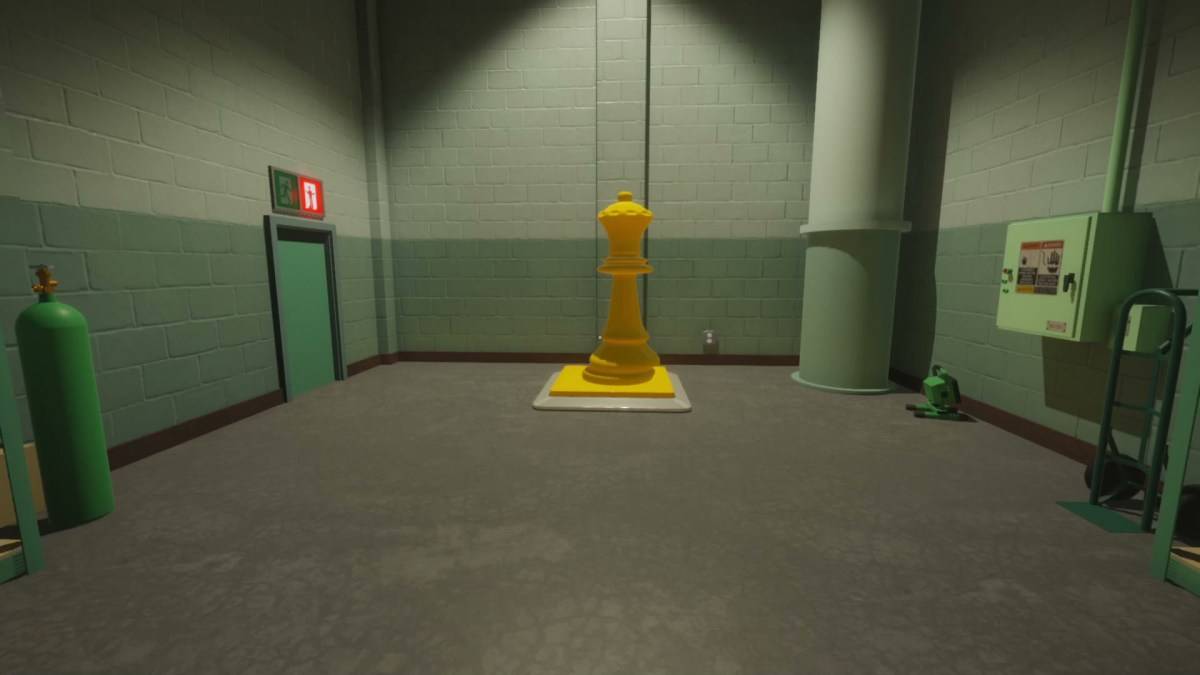
Puzzle 2
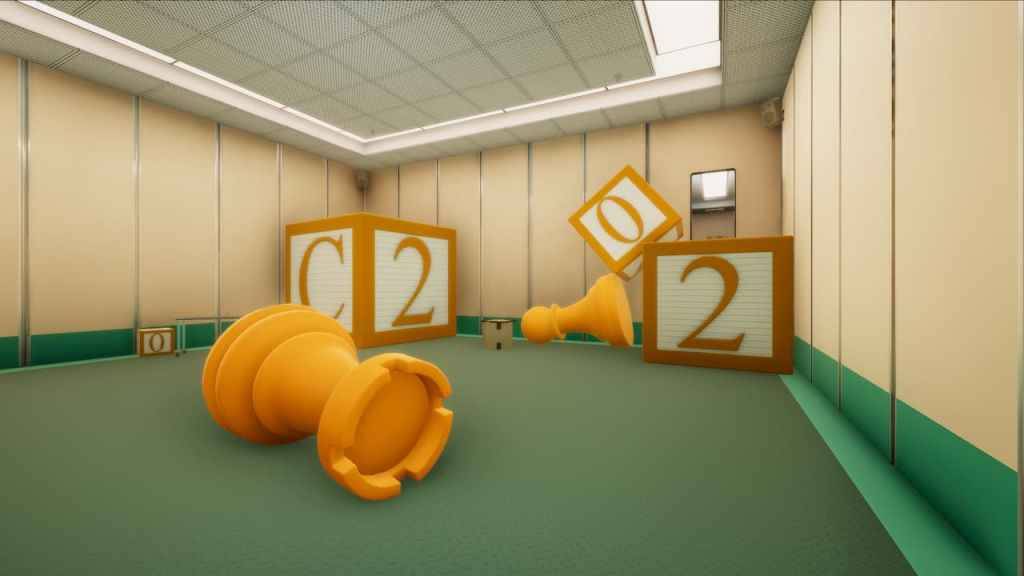
Use the pawns and other items on the table to practice resizing. Then, move to the next area where a giant chess piece blocks your path. Pick it up, look down at the floor, and drop it to shrink it. Jump over it and continue.
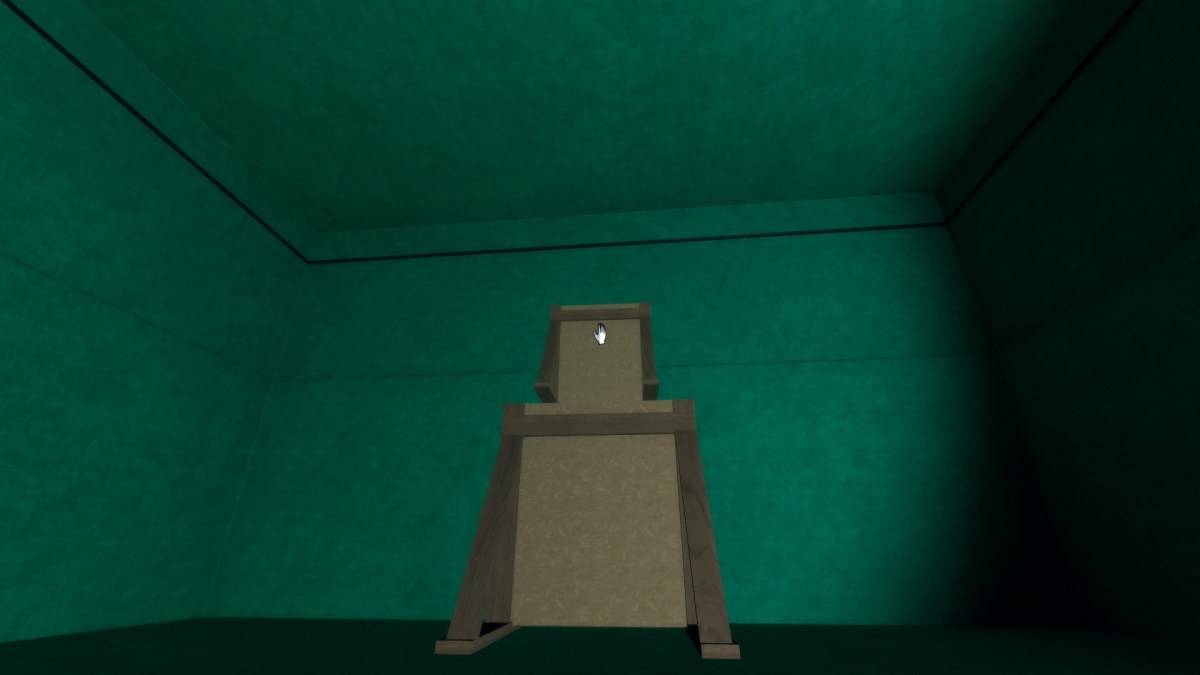
Puzzle 3
The exit door is in the far right corner, behind stacked blocks. Shrink the top block by dropping it near the floor, then use the fallen chess piece to jump onto the block and exit through the door.
You'll encounter your first object-blocking door, which you can pass through only if you're not holding anything.
Puzzle 4
To keep the door open, place an object on the button. Stand on the right side of the button to see through the door when it opens. Place a cube on the button and proceed through the door.
Puzzle 5
Looking back into the previous room, pick up the cube and look at the ceiling in the current room. Drop the cube and pick it up again to make it larger. Repeat until it's big enough to use as a step to reach the door in the corner.
 ### Puzzle 6
Look through the left window to pick up the pawn. Then, look through the right window and place the pawn on the button, using its shadow to align it. Exit through the door.
Puzzle 7
This puzzle teaches object rotation. Pick up the cheese and use the look-up-and-drop technique to enlarge it, then use it as a ramp to reach the doorway.
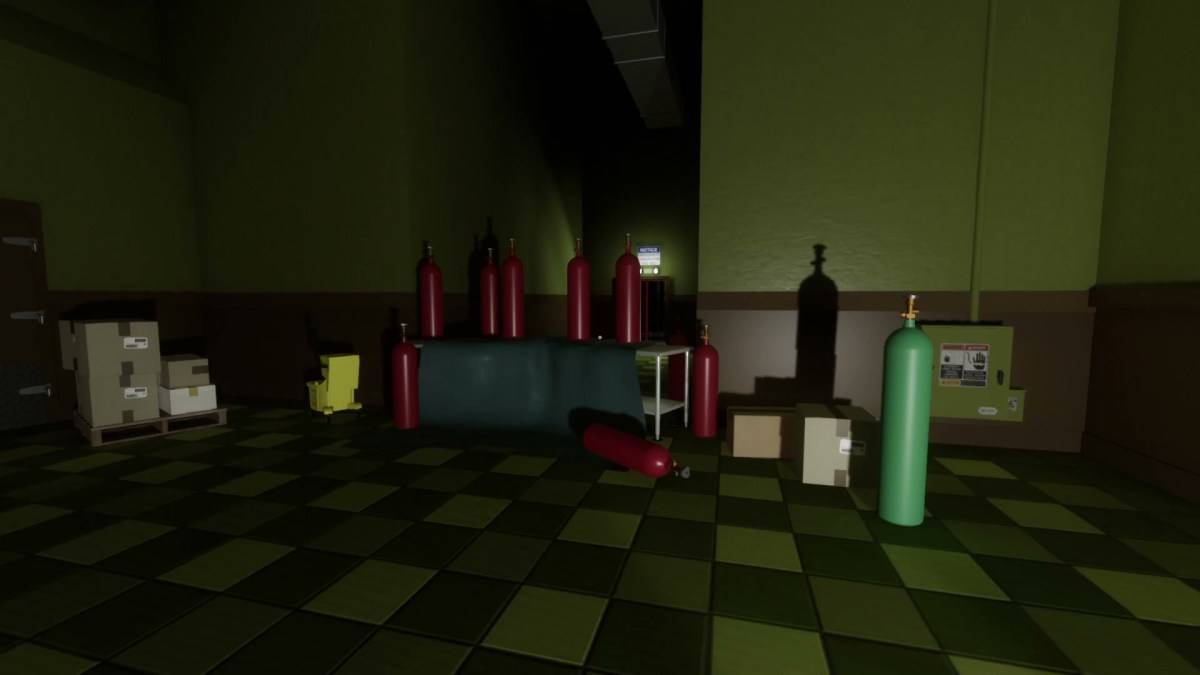
Puzzle 8
Pick up the massive block and hold it against a wall, then release it to shrink it. Repeat until it's small enough to place on the button next to the door.
Puzzle 9
Grab the large block and drop it near the bottom of the wall to shrink it. Look through the broken window and place the tiny block on the button visible through it. You might also try dropping it on the slope to get it through.
Puzzle 10
To get the block over the wall into the next room, stand in the back left corner, raise the block above the wall, and release it. If it doesn't land on the button, position it there and exit.
 ### Puzzle 11
Pick up the exit sign and keep dropping it from the ceiling to enlarge it. Rotate it to touch both buttons simultaneously, then release and exit.
Puzzle 12
Ignore the button and look through the crack in the wall panels to the left to grab the cheese wedge. Enlarge and rotate it to knock down the leaning wall panels. Climb over and proceed to complete the level.
Jump to Top
Level 2 – Optical
 By now, you should be comfortable with resizing objects. Here's how to navigate this level.
Puzzle 1
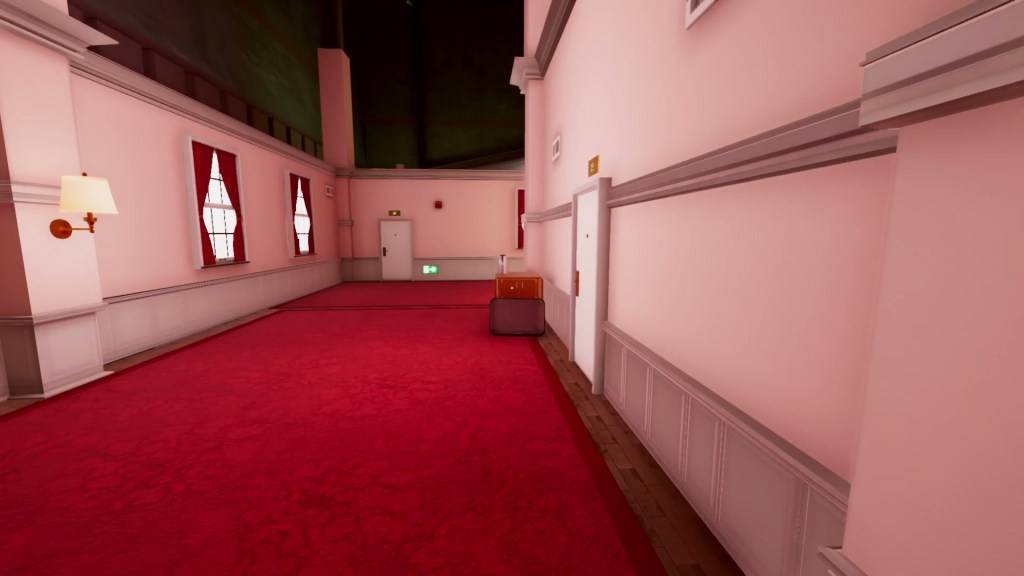
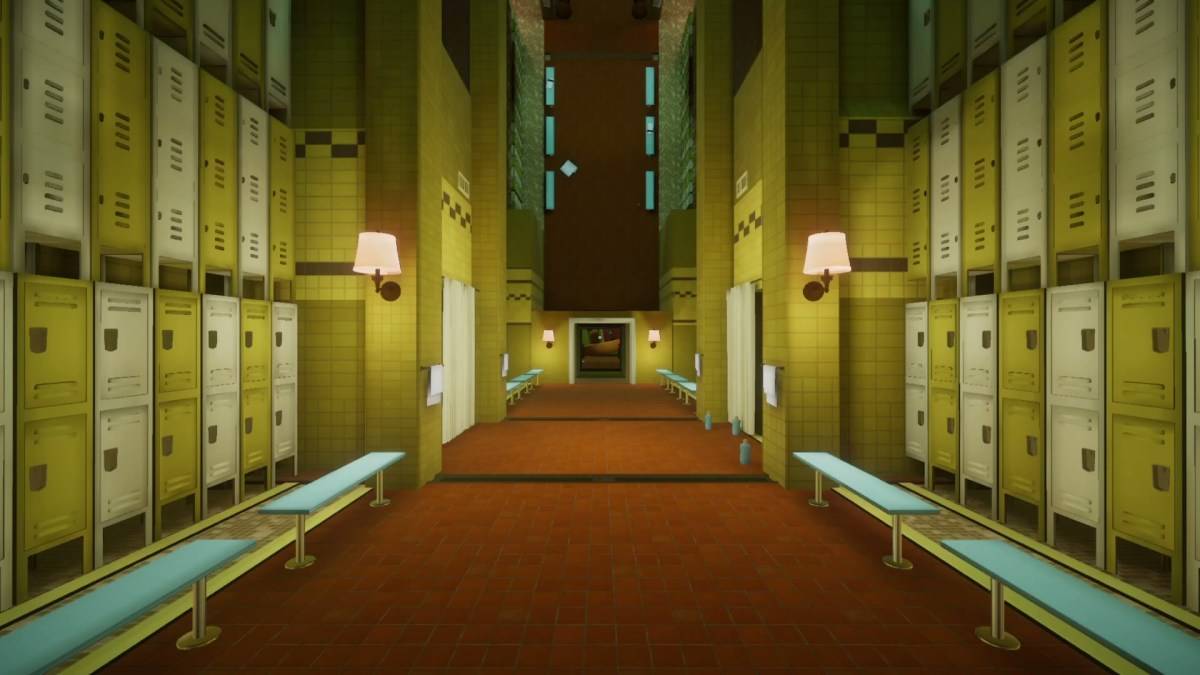
Move through the hotel to the fire exit door. Pick it up and set it aside. When you see a nighttime painting on your left, walk towards it to go upstairs. In the large room, remove an exit sign from the wall and enlarge it to climb over the far wall. Use the boxes to reach the door.
Puzzle 2
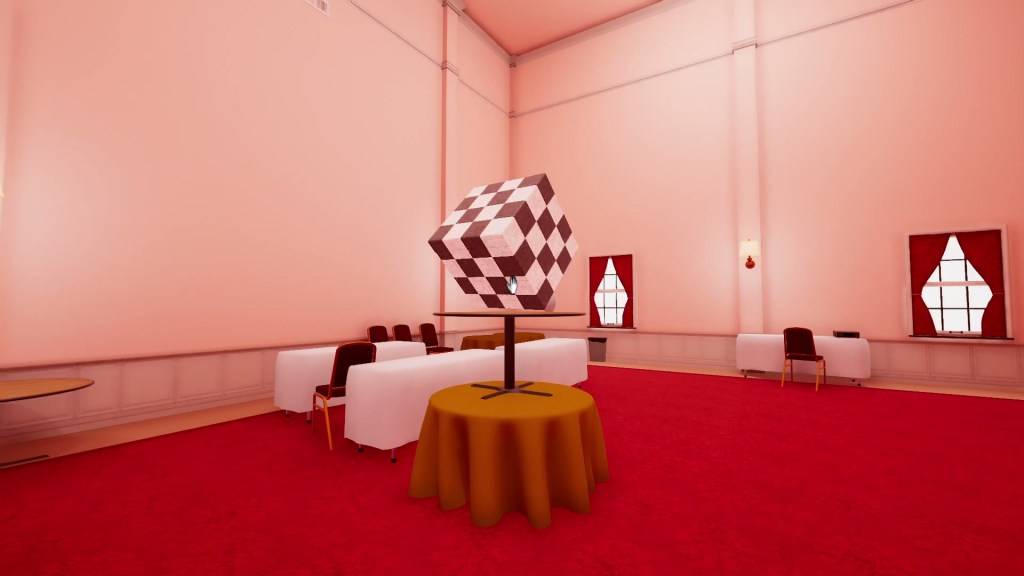
Enter the room to your right with fold-out tables and a projector. Align the cube-painted items to form a perfect cube, which will materialize. Enlarge the chequered cube to stand on it and reach the corridor exit.
 ### Puzzle 3
Stand behind the table marked with an X and back up until the flowers align. Go to the opposite side and align the flowers on the new table with the flower hole in the checkered cube to obtain it. Rotate the cube to reveal stairs, then enlarge it to exit the high door in the corridor.
Puzzle 4
Carry the cube stairs to the ledge on the left of the big room. Align the missing part of the fire exit door on a pillar to make it real. Click to 'open' it without moving, then exit through the new doorway.
Puzzle 5
Head up the stairs to the room with spilled paint. Align the cube on the ceiling, pick it up, and enlarge it to reach the upper level and yellow gantry. On the gantry, align the green pipe with the stain to form a chess piece. Pick it up and exit through the hole it creates.
 ### Puzzle 6
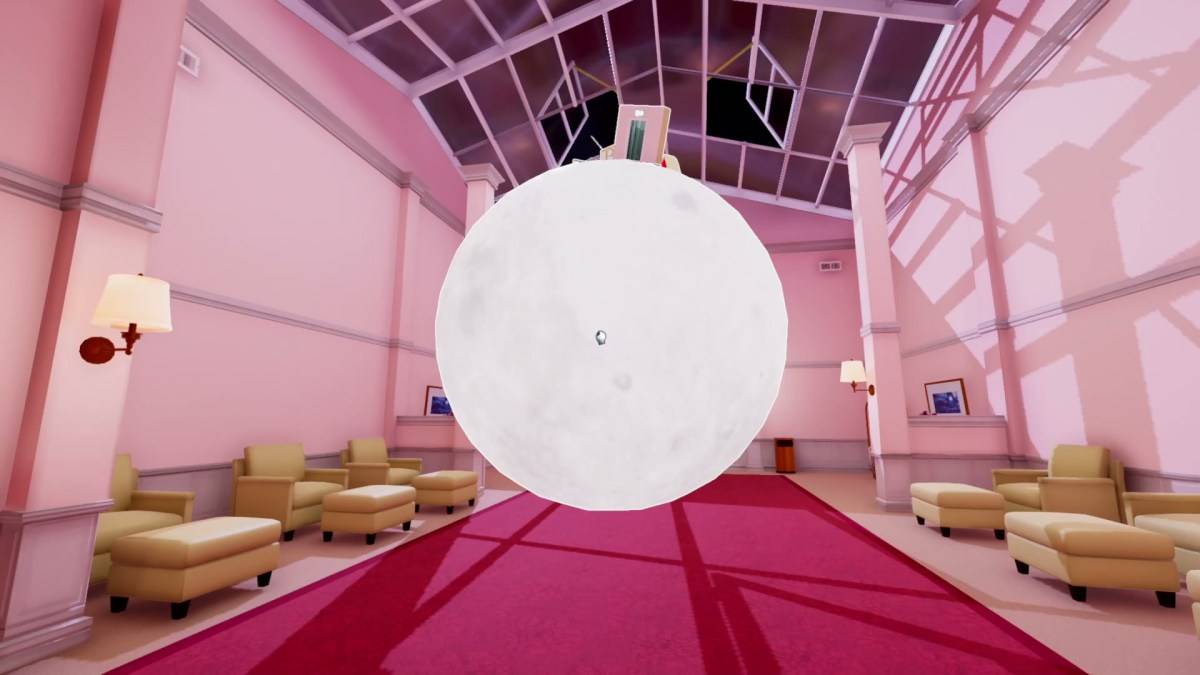
Back in the hotel, look through the far skylight and pick up the Moon. Enlarge and rotate it until the tiny door on it is big enough to walk through. Enter the elevator to complete the level.
Jump to Top
Level 3 – Cubism
Prepare to interact with numerous dice as you explore a mental museum/art gallery.
 ### Puzzle 1
Upon reaching the gallery, enter the Curator's Room on the right and grab a dice. Enlarge it to reach the ledge and proceed to the next room, taking the dice with you.
Puzzle 2
Enlarge the dice to reach the exit, then grab the smaller dice from the alcove to use as a stepping stone onto the larger one. Go through the high door.
Puzzle 3
Pick up the new dice on the floor and jump down the hole it creates. Grab the air vent beneath the floor and continue.
Puzzle 4
Use the dice as steps to proceed.
 ### Puzzle 5
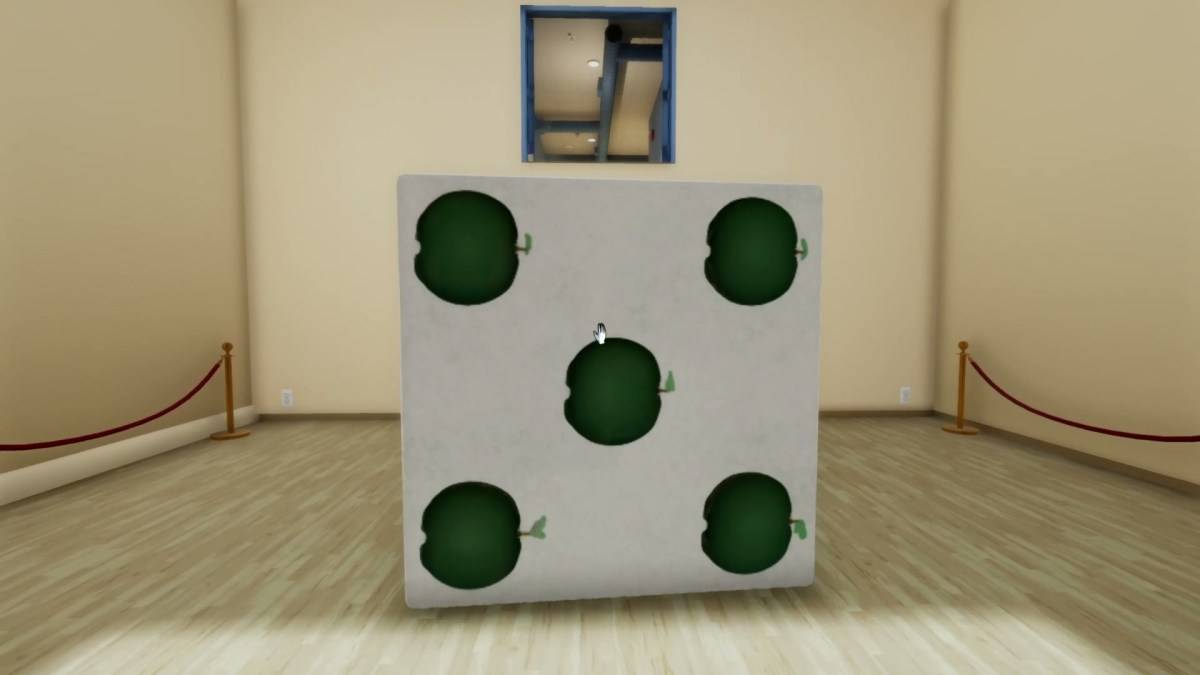
Upon entering, you'll see three dice attached to the floor. Lower the middle dice into the floor and pull the left one to the right. Jump onto it and reach the ledge.
Puzzle 6
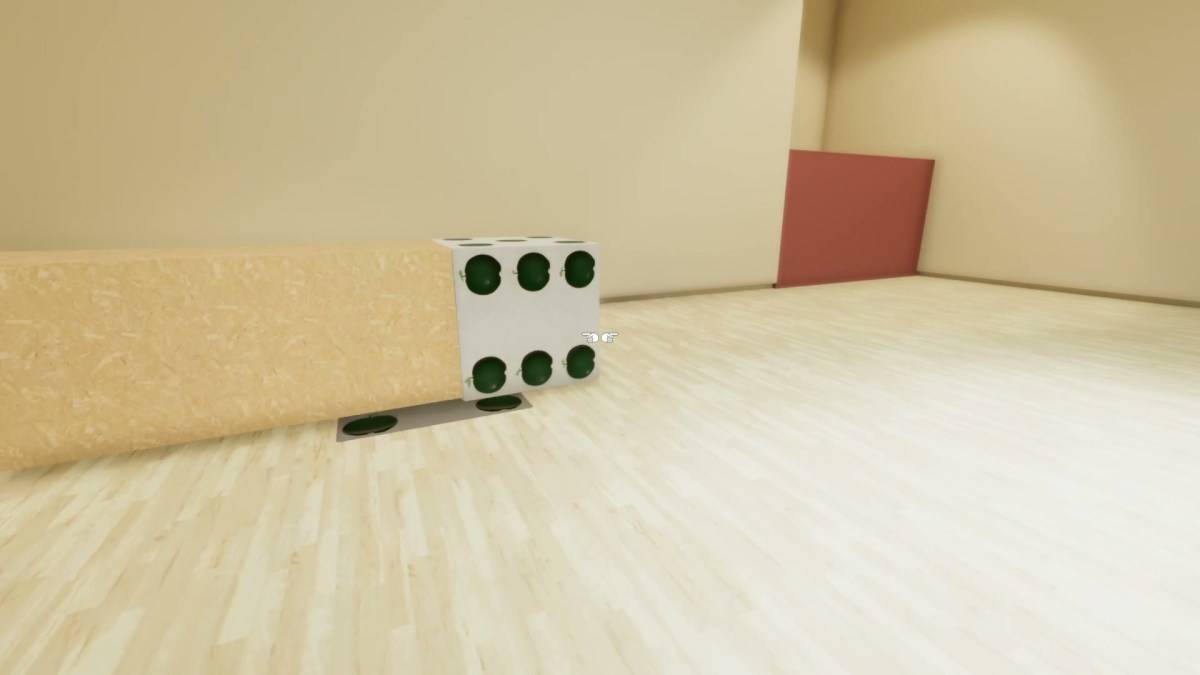
The dice will collapse, but pick up any side to create a ramp to the ledge and exit.
Puzzle 7
Position the dice near the ledge. If it explodes, use any piece to form steps. If not, enlarge any piece and stack them to ascend.
Puzzle 8
Pick up the dice face opposite the stairs, move it aside, and enter the cube. Then, head to the elevator to complete the level.
Jump to Top
Level 4 – Blackout
 This level might be unsettling, but remember, you can't die. Walk a bit before encountering the first puzzle.
Puzzle 1
The door ahead leads to a dead end. Instead, walk to the right side of the room through the darkness to find an exit at the back.
Puzzle 2
Further on, a red pit awaits. Look at the ground to see a small platform on the left. Follow it across the pit to reach the next area.
Puzzle 3
When the door slams shut, turn around and walk backwards into the darkness. Follow the arrow pointing to silhouetted stairs and ascend.
Puzzle 4
In the red room, look through the planks to grab the exit sign. Enlarge it and use it to light your way past the boxes. Drop it before going through the door.
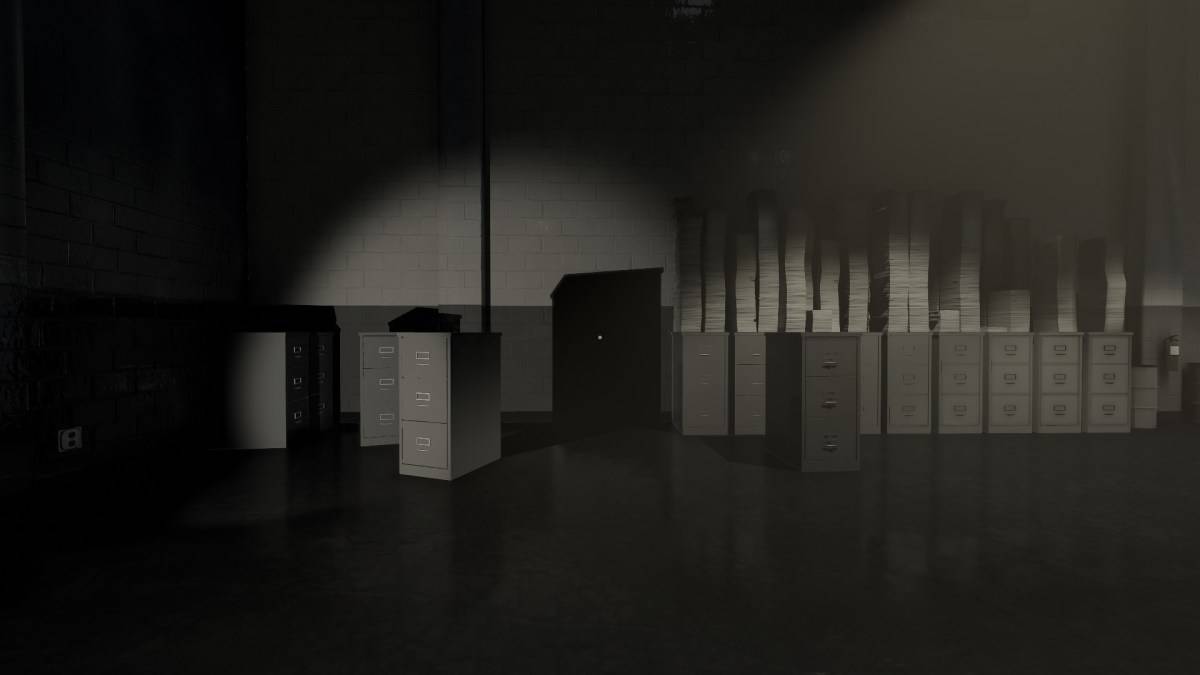
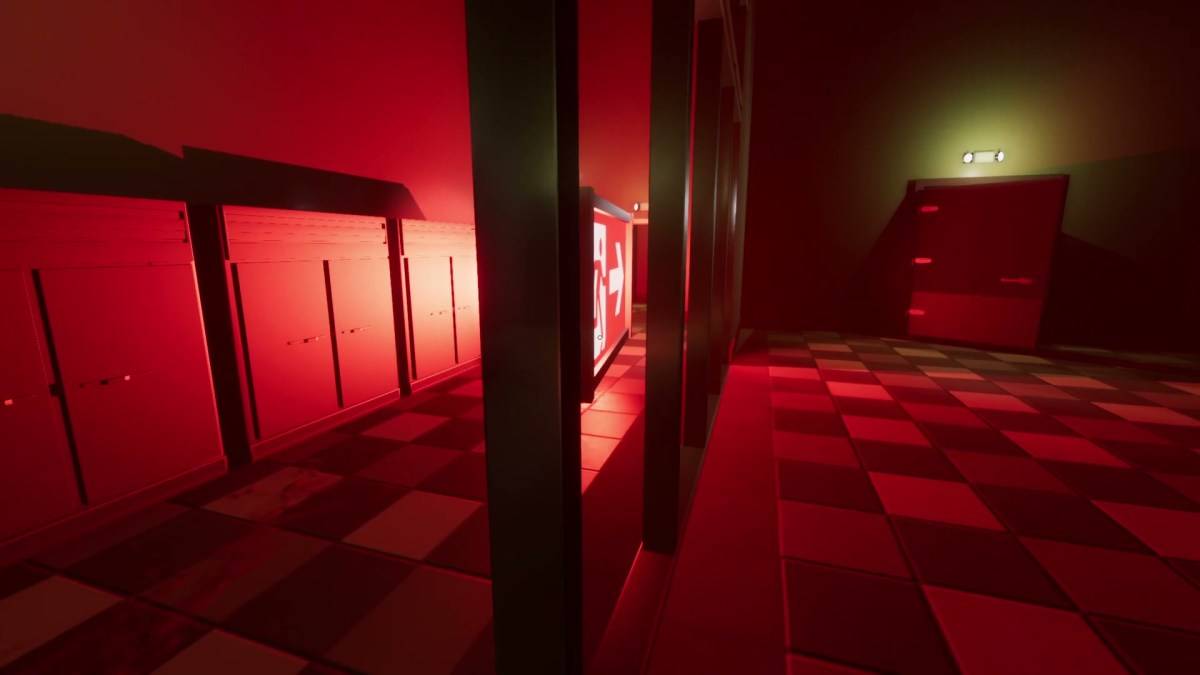 ### Puzzle 5
In the storeroom, enlarge the red exit sign to illuminate it through the glass window. Climb the boxes to the high exit.
Finally, activate the IDEA generator, go straight ahead, and reach the elevator to complete the level.
Jump to Top
Level 5 – Clone
This level features objects that spawn copies when interacted with. Start by picking up and discarding the green fire door.
Puzzle 1
There's a big green button but no obvious object to use. Go back for the door you removed and place it on the button.
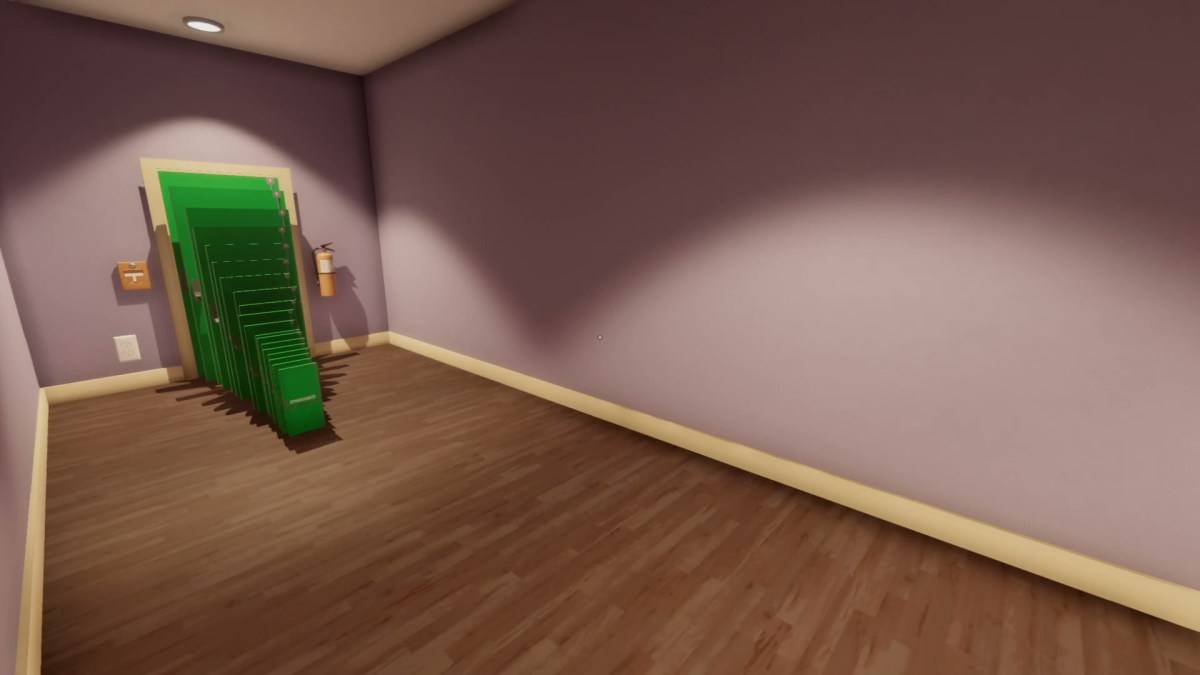 ### Puzzle 2
In the Y-shaped corridor with fire doors, clicking them spawns smaller doors. Keep clicking until you create a staircase of doors, then climb over the wall to land behind the door.
Puzzle 3
Each click on the clock spawns another. Enlarge the duplicates to create a staircase.
 Follow the example above, though you can arrange them more neatly. Use the button to make copies disappear.
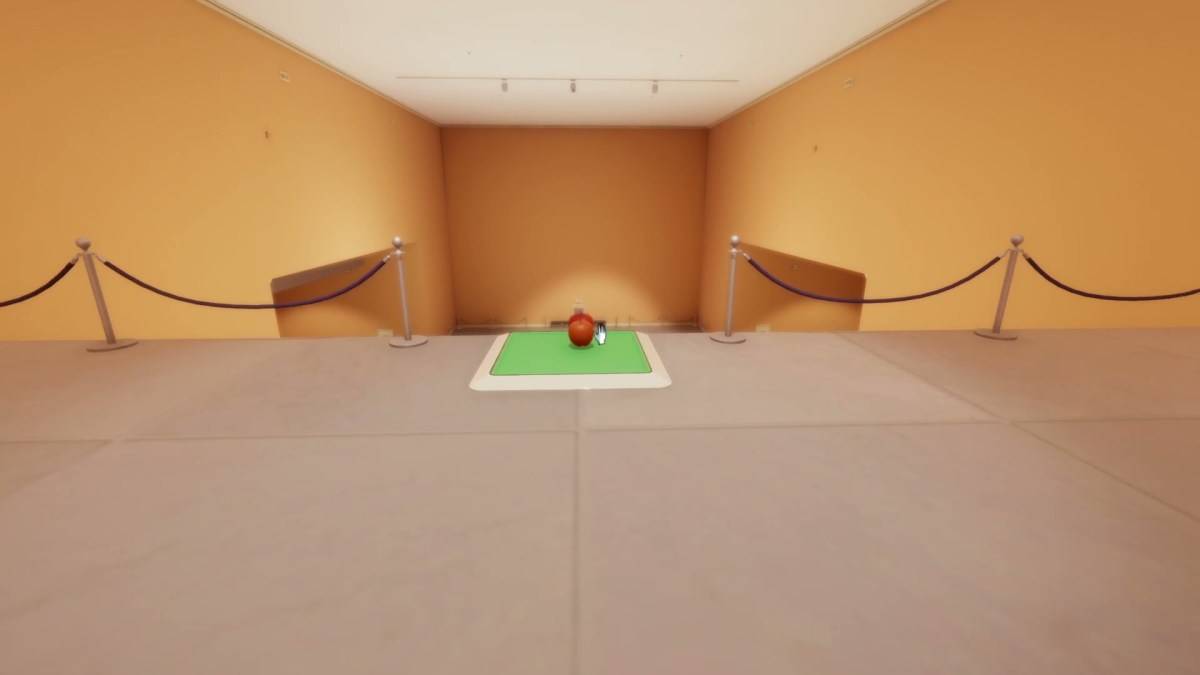
Puzzle 4
The apple on the button keeps the door locked. Stand close, clone it, look at the ceiling, and release it to drop a massive apple that knocks the smaller one off. Repeat if needed.
Puzzle 5
Your goal is to get an apple onto the green button upstairs. Climb the stairs, look down at the apple so the bottom half is hidden, and click to clone it onto the button.
 ### Puzzle 6
Stand at the room's entrance and keep cloning the SomnaSculpt sign until you have enough to climb and jump up. Reach the top level, jump down the hole beneath the door, and proceed to the elevator to end the level.
Jump to Top
Level 6 – Dollhouse
Enter the Relaxation Room, go through the movie theater, and turn right at Suite G. Navigate the office area and drop down through the object-blocking door.
Puzzle 1
Pick up the dollhouse and enlarge it until the window is above your head. Enter, go through the door ahead, and jump onto the suitcases and table to reach the other door.
Puzzle 2
Reach a room with a door atop Jenga blocks. Enlarge the small fan and place it to blow the blocks down, freeing the door. Go through.
Puzzle 3
Click on the second window from the left, enlarge it, and walk through.
Puzzle 4
Enlarge the inflatable castle to walk through the door. Looking through the vent fan, place the castle on the top diving board. Go back through the door to reach the board, then through the door in front. Adjust the castle size if needed.
 ### Puzzle 5
Face two doors leading to each other and a high door on the wall. Position the larger door near the upper door, leaving space to shimmy through. Place the smaller door on top of the first to reach the keyhole.
 ### Puzzle 6
Instead of returning to normal size, grab the cardboard dollhouse off the chair, resize it on the ledge, and enter it. Then, enter the elevator to complete the level.
Jump to Top
Level 7 – Labyrinth
Start in the bedroom and walk as the voice discusses the emergency protocol. You'll return to the bedroom several times.
Puzzle 1
Deal with the alarm clock loop by walking until the screen goes black and gravity shifts. Drop through the doorway into the catering area. Click the alarm to return to the bedroom, then take the blue sky painting to the end of the blank hallway. Place it where a door would be and walk into it, sidestepping left to continue. You'll end up in a red hall with altered gravity.
Puzzle 2
Click the grey door to the right to reveal the exit and drop down the hole beneath it. Continue to the orange hall.
Puzzle 3
In the orange hall, align the painted block on the right wall. Back up to fall through the crack to the next area, or run to the wall and drop down.
Puzzle 4
Grab the spiral staircase, enlarge it, and let it smash through the floor to the room below. Climb down, move the junk near the elevator, and enter it. Turn around and exit through the door behind you. Follow the exit signs in the repeating hallway.
Puzzle 5
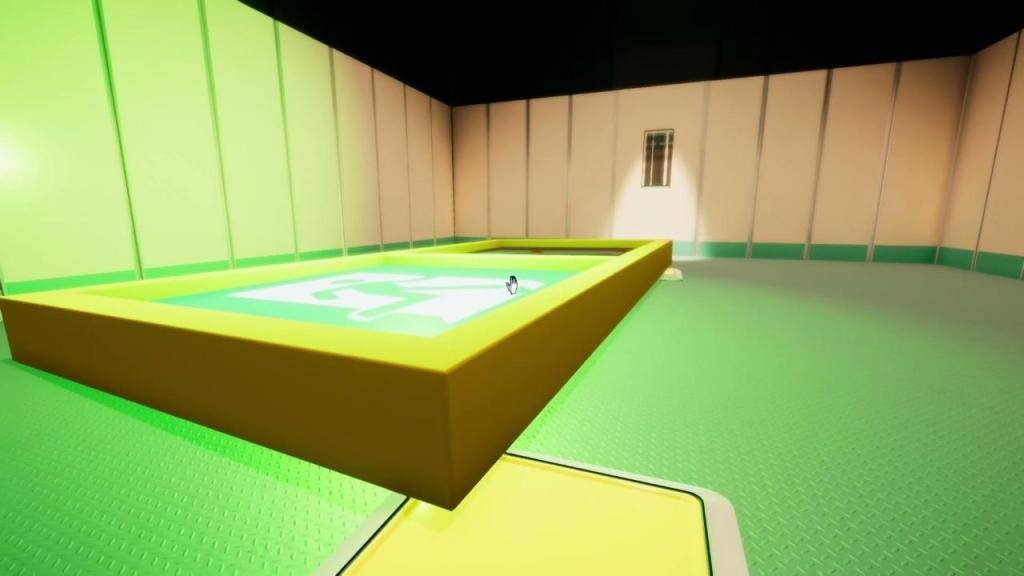
Place the dice on the left ledge, shrink it, and climb up. Turn around to see it on the top level of the pool. Use it to reach the next level and exit.
 ### Puzzle 6
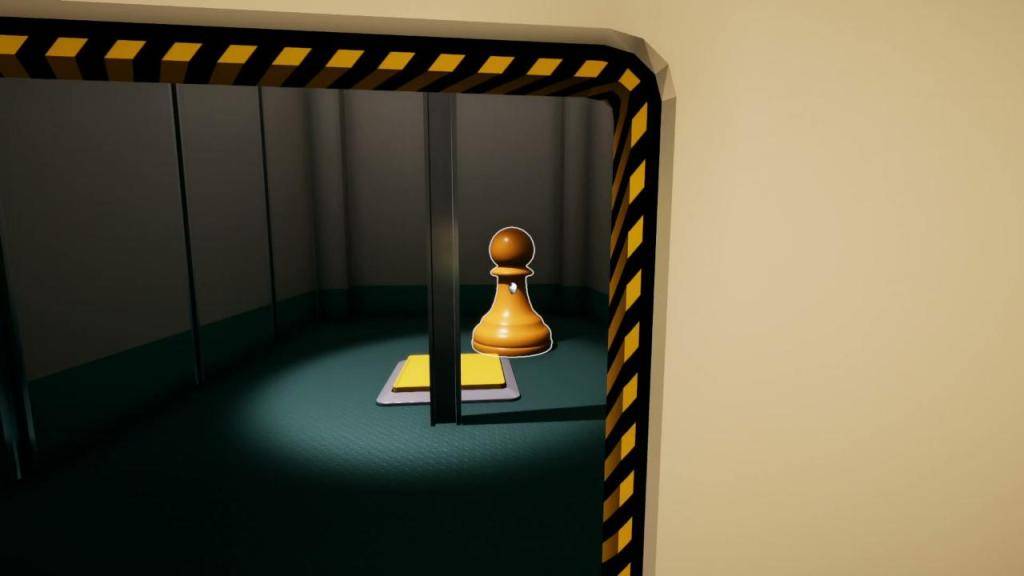
Placing the chess piece on the button turns it 2D. Instead, stand on the button, look through the door, and use the knight to hold it down.
Puzzle 7
Pick up the dice to change the room. Use it to reach the bed level, drop the cube, and be transported to a dark corridor. Walk to the end wall, drop down, and click the alarm clock to reach a group of elevators. Follow the arrows through doors until you reach a darkened hallway. Click the alarm clock and enter the elevator.
Puzzle 8
Approach the lampposts to turn them 2D. Walk to each of the four 'walls' to make a bedroom appear. Enter and click the alarm clock to complete the level.
Jump to Top
Level 8 – Whitespace
You're nearing the end. Start by figuring out how to exit the initial room.
Puzzle 1
Click on the building model's chunk left of "Jungles" and enlarge it to enter the door. Position it to obscure the far door, making it large enough to enter. The bricked-up doorway will open, leading you through the model building's entrance. Shrink the model, pick it up, and walk towards the door. It will disappear, and the room will dissolve into white. Keep walking until you reach a black block.
 Pick up the black block and go through the doorway behind it. Walk straight until you reach the filing cabinet room. Walk through the large filing cabinet shadow on the wall.
Puzzle 2
Reach a long hallway with open walls and white pillars. Walk through the white window in the black area. Use the inverted window as a cube to climb through the far door. In the next room, walk behind the wall with the window and towards the containers and chimney to flick the switch.
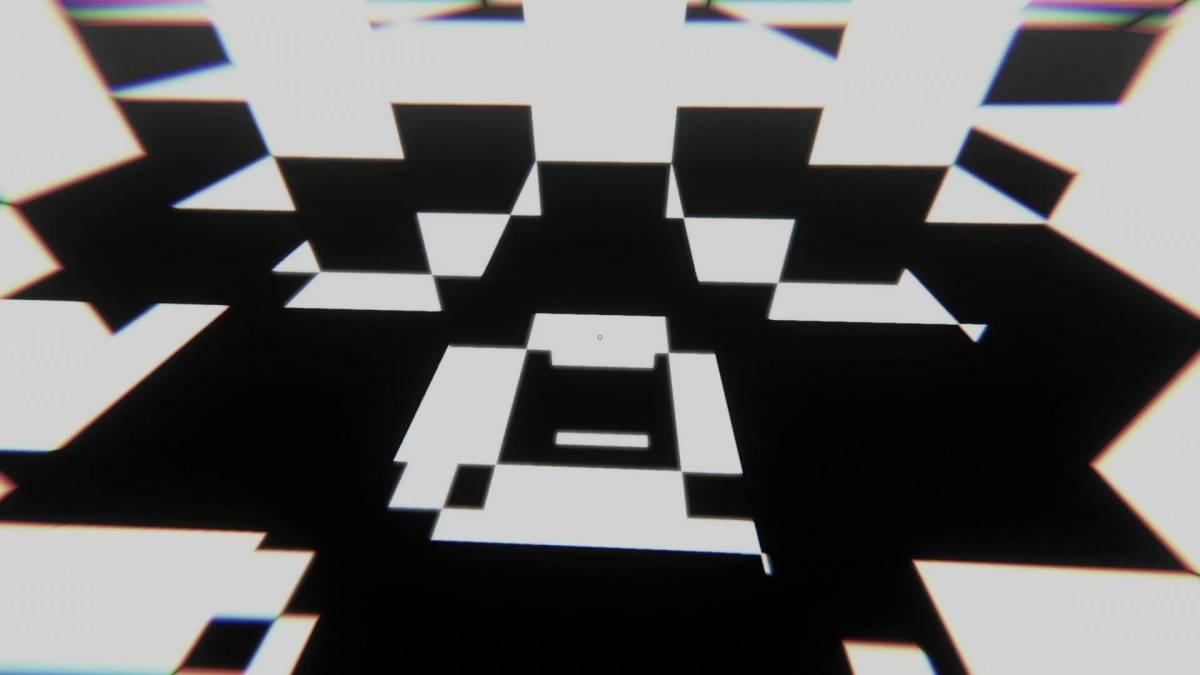
Puzzle 3
Walk towards the stairs but through the white stair shape. Follow the black path until you fall and keep walking.
Puzzle 4
In the looping hallway with colored pillars, walk through the white walls to find a door behind the red and blue end. Proceed to the chessboard.
Puzzle 5
Avoid stepping on the chessboard squares. Use the chess pieces from the table to cross: place the white piece on a white square, cross to it, then use the black piece on a black square, and repeat.
Puzzle 6
You can't initially go through the white door. Turn it into a room by dropping the cube behind the white space. Grab the cheese wedge, enlarge it, and use it to reach the high door.
 ### Puzzle 7
Keep falling through the chequered holes and corridors. Pass through a door into whitespace, turn around, and click the black box to reveal an exit sign and red pit. Jump into the pit to complete the level.
Jump to Top
Level 9 – Retrospect
 Activate the alarm clock to open the door. You'll receive an inspirational talk from Dr. Glenn Pierce and revisit sections of previous levels and new areas. The game will transport you to the next area automatically.
Congratulations! With our Superliminal walkthrough, you've conquered the game. For an extra challenge, try Superliminal's Challenge Mode. For more gaming assistance, explore our other video game guides.
Jump to Top
Latest Articles
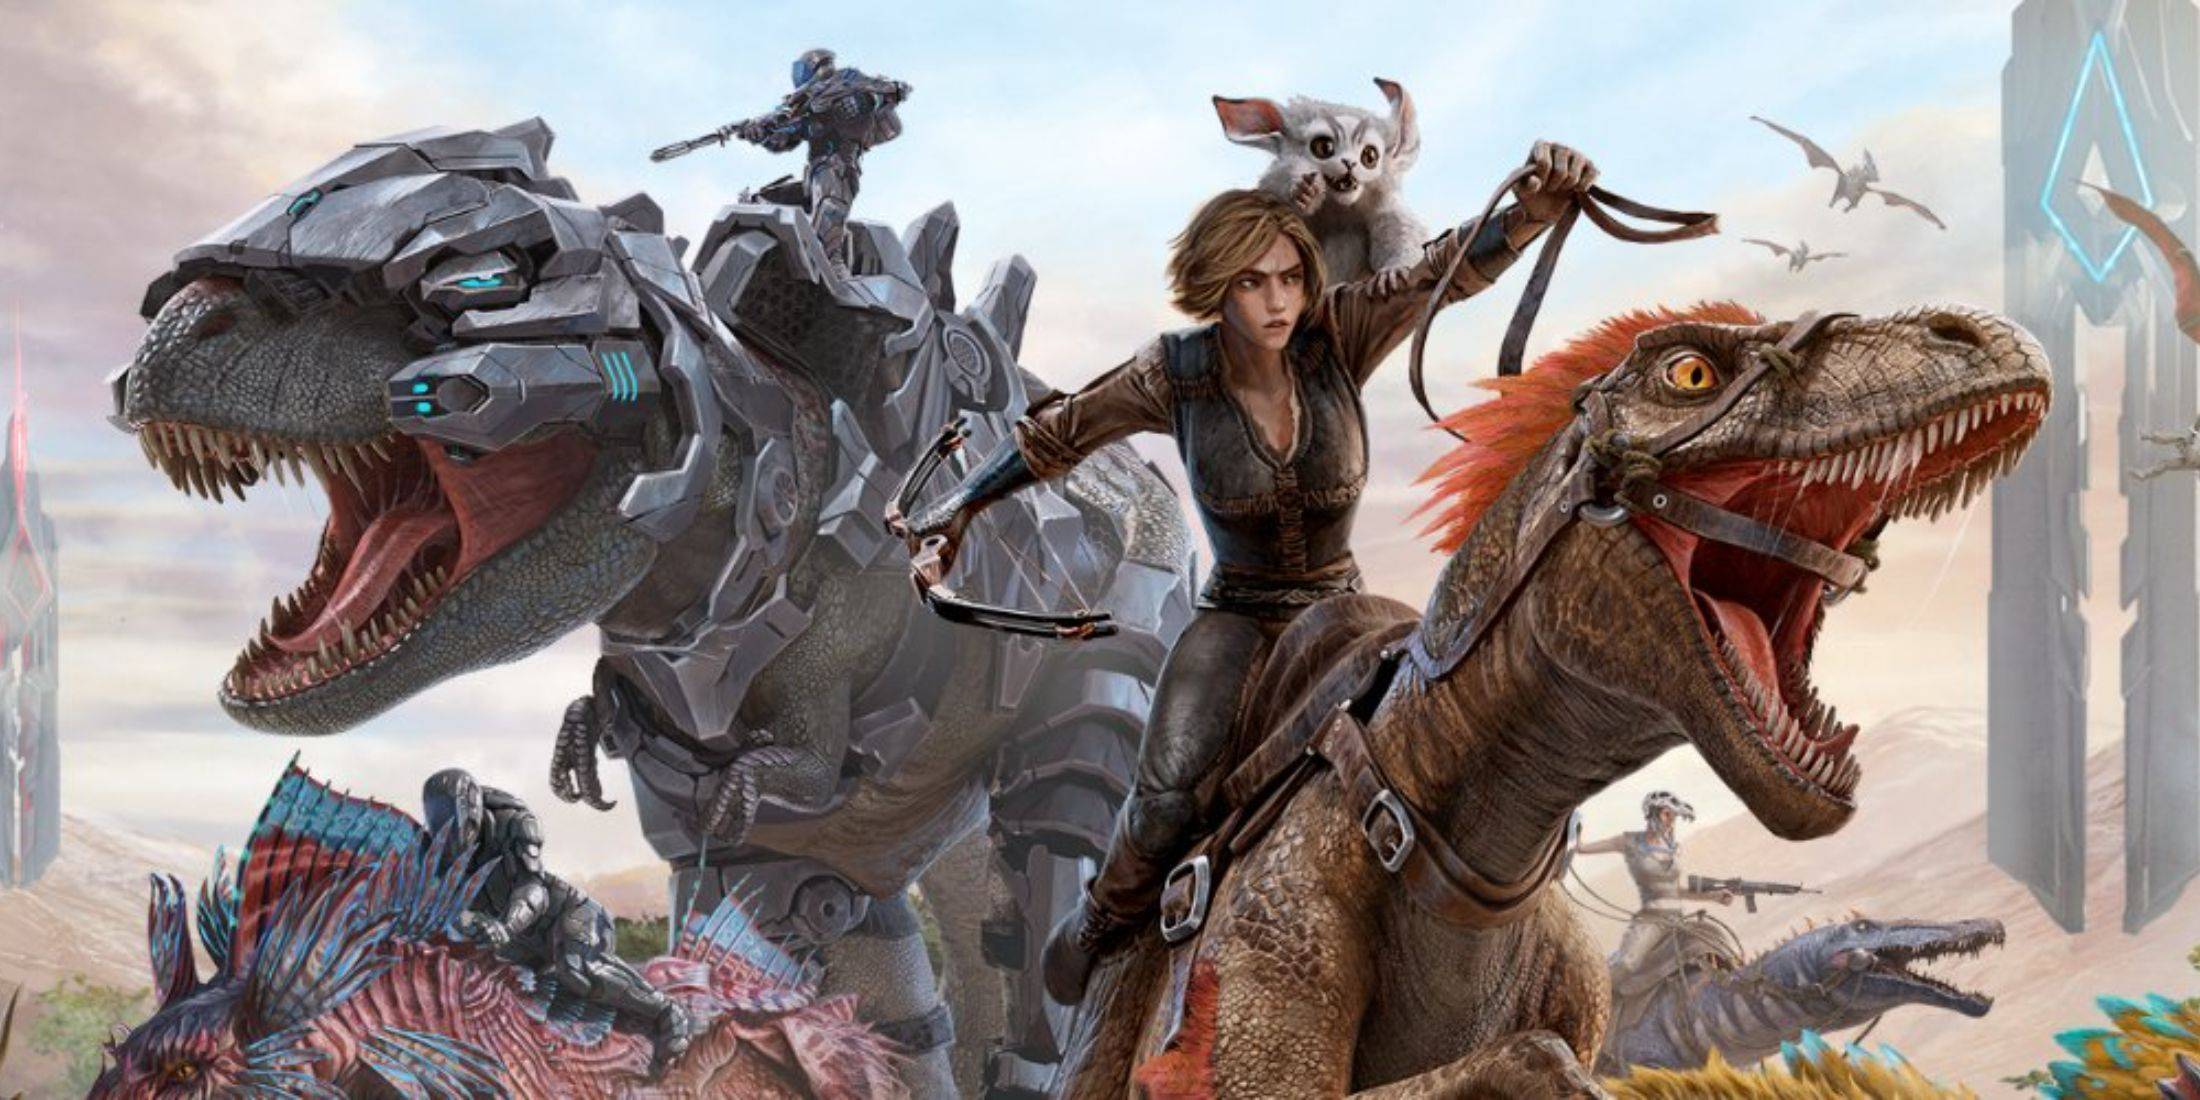
ARK Spinoff Reaches Major Player Milestone with Free Play
Summary
ARK: Ultimate Mobile Edition surpassed 3 million downloads within three weeks of its launch.
The game has received mixed reviews but is steadily growing in popularity across iOS and Android.
Grove Street Games plans to expand the dinosaur-in

PG People's Choice Award 2025 Voting Opens
Following several weeks of nominations, voting is officially open for the Pocket Gamer People's Choice Award 2025. You submitted a wealth of fantastic suggestions, which we've now narrowed down to a final twenty. If your favorite game from last year
Cardinals Monitor Conclave as Future Election Prep
Edward Berger's gripping papal thriller Conclave captivated audiences last year, offering a rare glimpse into Catholicism's most secretive ceremony – the ritualized election of a new pope. With real-world cardinals now preparing for an actual conclav

Another Eden Celebrates 6th Anniversary With New Hero
(注:严格控制在50字符内,使用"celebrates"更简洁,"hero"比"character"更具游戏语境新闻感,保留专有名词"Another Eden"原格式,符合SEO和新闻标题规范)
Another Eden marks its sixth global anniversary with exciting new contentNew character debuts alongside Shadow of Sin and Steel Chapter 5The globally popular RPG Another Eden reaches a major milestone celebrating six years since its international lau
Marvel Rivals Fans Tire of Mister Fantastic Memes
Marvel Rivals players have just wrapped up their first weekend with the newly playable Mister Fantastic and Invisible Woman, though some are finding it hard to view Reed Richards with the same gravitas as other heroes.The elastic scientist joined the

Subnautica Launches Mobile Pre-Registration
Subnautica's deep-sea adventure is finally making its way to mobile devices. First launching on PC and Mac in 2018, this acclaimed survival game became an instant classic. It later expanded to PlayStation, Xbox, and next-generation consoles, followed
Latest Games

Football Games 2024 Offline
Sports丨49.6 MB


갓오브하이스쿨: 리부트
Role Playing丨175.7 MB

성녀 키우기
Simulation丨1.0 GB

Train your Brain - Attention
Trivia丨64.9 MB
Word Across
Word丨73.1 MB

Breaking The Friend Zone
Casual丨315.70M

Maya’s Mission
Casual丨64.57M


Top News
MORE +

01
02-03
Roblox: Anime Adventures Codes (January 2025)
Anime Adventures Codes: A Comprehensive Guide to Free Gems and Rewards
This guide provides an up-to-date list of working and expired Anime Adventures codes in Roblox. Redeeming these codes grants valuable in-game gems and other rewards, giving you a head start in your adventure.
Updated January 5,
02
05-26
Enhance Your MU Immortal Experience with BlueStacks Features
MU Immortal captures the essence of classic MMORPG gameplay that fans adore—leveling up, enhancing stats, and crafting your ideal character. Designed primarily for mobile, the game truly shines when played on a PC using BlueStacks, thanks to an array of tools that streamline and enhance your gaming
03
05-16
"Clair Obscur: Expedition 33 Hits 1 Million Sales in 3 Days"
Clair Obscur: Expedition 33 has taken the gaming world by storm, achieving a phenomenal opening weekend by selling over 1 million copies just three days after its launch. This remarkable feat cements its status as the highest player-rated game of early 2025. Dive deeper into the journey of this grou
04
04-21
Roblox Anime Genesis: January 2025 Codes
Dive into the thrilling world of Anime Genesis, a dynamic tower defense game on Roblox where you assemble a squad of your favorite anime characters to fend off menacing monsters. Whether you're tackling levels solo or teaming up with friends, you'll earn gems that you can use to summon new heroes, e
05
01-20
New DLC and Preorder for FANTASIAN
FANTASIAN Neo Dimension: DLC and Pre-order Information
While anticipation for extra content is high, a FANTASIAN Neo Dimension DLC or story expansion is unlikely. Mistwalker head Hironobu Sakaguchi has stated his preference against sequels, aiming for complete, self-contained gaming experiences.
Topics
More +