Helldivers 2: Top Illuminate Loadouts
Author : Penelope
Mar 12,2025
Quick Links
The Illuminate, in Helldivers 2, are a serious threat. Their advanced tech and overwhelming numbers make them a formidable foe. While you're dealing with their lighter units, their elite forces will be closing in from all directions. Victory hinges on strategic loadouts that exploit their weaknesses and mitigate their strengths.
Effective Illuminate combat requires a balanced approach. You need weapons and stratagems that handle both the swarms of weaker enemies and the heavily armored units. Neglecting either will leave your strategy vulnerable.
This guide outlines top-tier loadouts for tackling the Illuminate, catering to both seasoned veterans and newcomers. Let's equip ourselves and face the challenge head-on.
The Laser Cannon Loadout: Melting the Illuminate
| Primary | PLAS-1 Scorcher / PLAS-101 Purifier |
|---|---|
| Secondary | GP-31 Grenade Pistol |
| Grenade | G-13 Incendiary Impact |
| Armor Passive | Siege-Ready |
| Stratagems | LAS-98 Laser Cannon (Support) AX/AR-23 "Guard Dog" Eagle Strafing Run A/MG-43 Machine Gun Sentry / Orbital Laser |
The 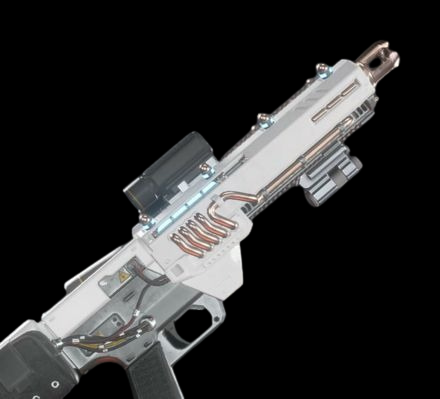 PLAS-101 Purifier and
 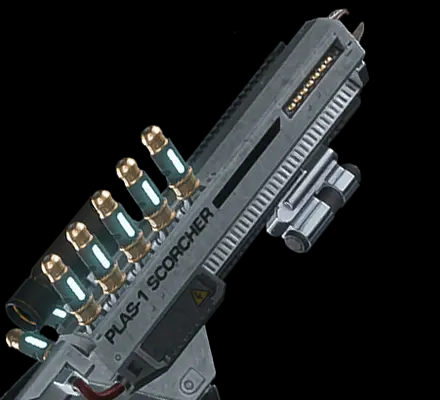 PLAS-1 Scorcher are top-tier primary weapons in Helldivers 2. They decimate Overseers, including the airborne Elevated units, and are equally effective against the Voteless. The Siege-Ready armor passive boosts ammo and reload speed, ensuring you're always ready for multiple targets. The increased DPS is invaluable when every shot counts.
The  Eagle Strafing Run and
 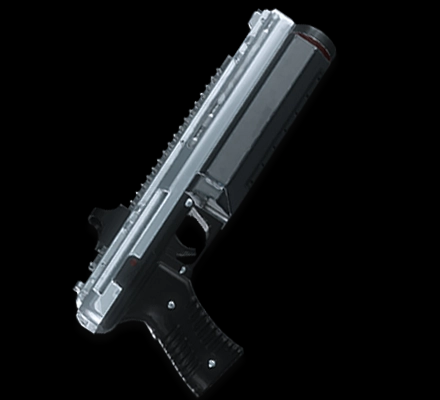 GP-31 Grenade Pistol combo is devastating against warp ships. Energy weapons struggle against their shields, but a single Strafing Run obliterates them, leaving the open bay doors vulnerable to grenades. This is crucial for clearing larger Illuminate nests. While the
  G-13 Incendiary Impact works well against swarms, the Grenade Pistol is better for targeting warp ships.
The  AX/AR-23 "Guard Dog" surprisingly excels against medium-armored Overseers. Each burst takes down an elite unit, making it excellent for flank protection.
The  A/MG-43 Machine Gun Sentry secures areas during objective defense. If crowd control isn't paramount, the
  Orbital Laser can target Harvesters or future heavy units.
The  LAS-98 Laser Cannon is the cornerstone of this loadout. It melts Overseers and chaff, and is highly effective against Harvesters (use a Strafing Run to strip shields first, then target weak points). Its long range lets you pick off targets from afar.
On higher difficulties (levels 9-10) with multiple Harvesters, the Orbital Laser becomes essential.
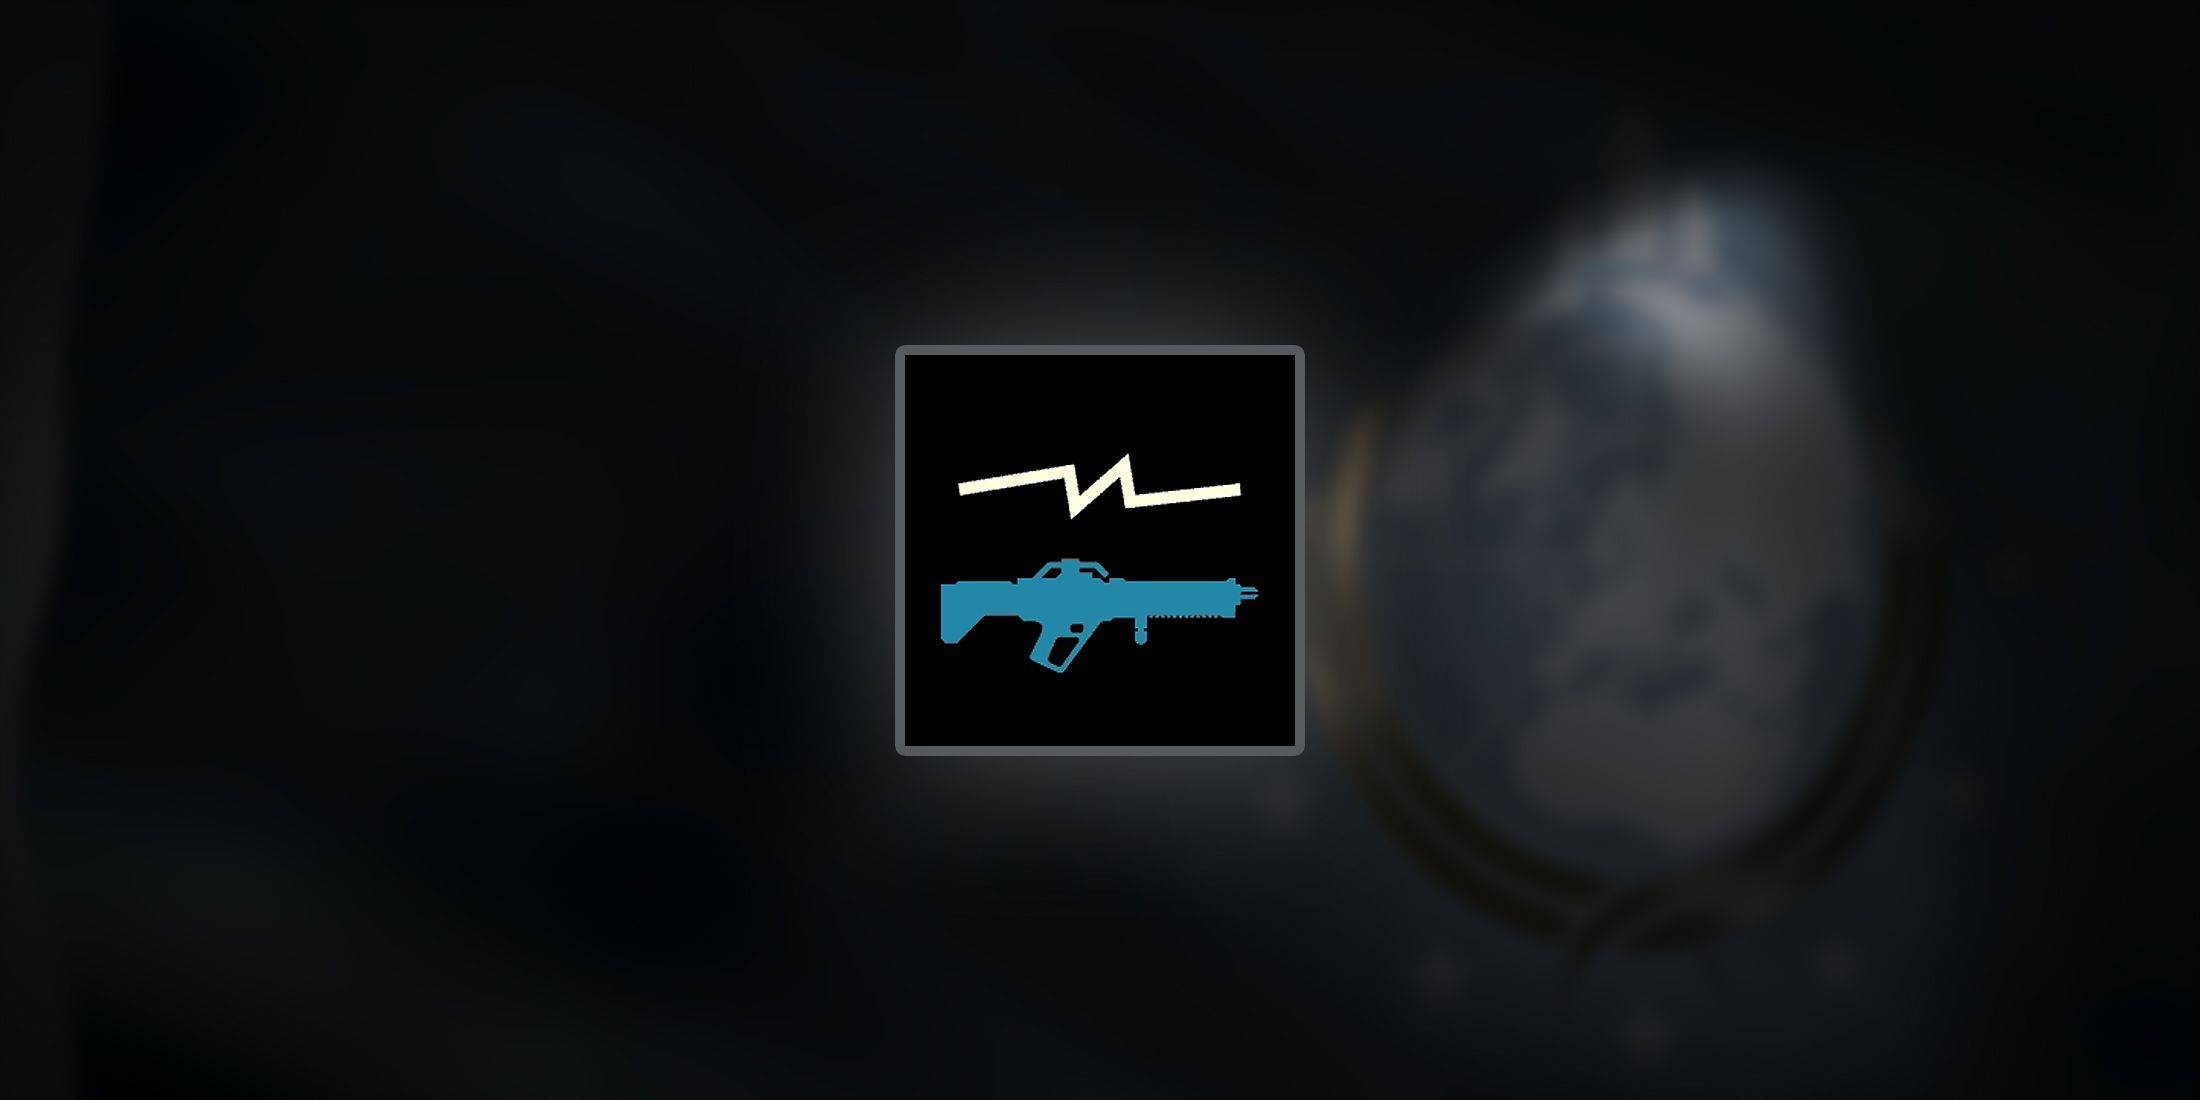
The Lightning Loadout: Shocking (& Staggering) the Illuminate
| Primary | ARC-12 Blitzer |
|---|---|
| Secondary | GP-31 Grenade Pistol |
| Grenade | G-13 Incendiary Impact |
| Armor Passive | Electrical Conduit / Med-Kit |
| Stratagems | ARC-3 Arc Thrower (Support) Orbital Railcannon Strike / Orbital Laser Eagle Strafing Run A/ARC-3 Tesla Tower |
The Illuminate's mix of melee and ranged units makes the 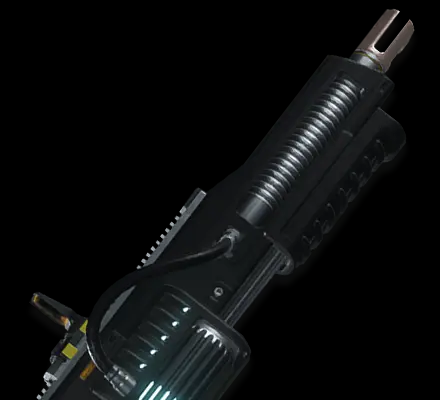 ARC-12 Blitzer and
  ARC-3 Arc Thrower ideal. Both handle chaff effectively, but the Arc Thrower's staggering effect renders Overseers nearly helpless. Repeated attacks can perma-stun airborne Overseers.
The Arc Thrower can also damage unshielded Harvesters, although it takes multiple hits.
The  A/ARC-3 Tesla Tower is exceptionally effective against all Illuminate types, especially flying Overseers. Its crowd control and disruption capabilities make managing large waves easier.
Combine the Arc Thrower and Tesla Tower for widespread lightning attacks. Prioritize targeting priority enemies with the Arc Thrower to protect your Tesla Tower.
Harvesters often target sentries, so conserve your sentry stratagems if engaged with them.
The Eagle Strafing Run and Grenade Pistol are still essential for warp ships, as the Blitzer and Arc Thrower are inefficient against their shields.
For heavy units, the  Orbital Railcannon Strike is excellent due to unlimited uses. The Orbital Laser is effective against multiple Harvesters, but its limited uses make it less reliable. Remember to use a Strafing Run to disable shields first. This is a powerful build, especially with team coordination.
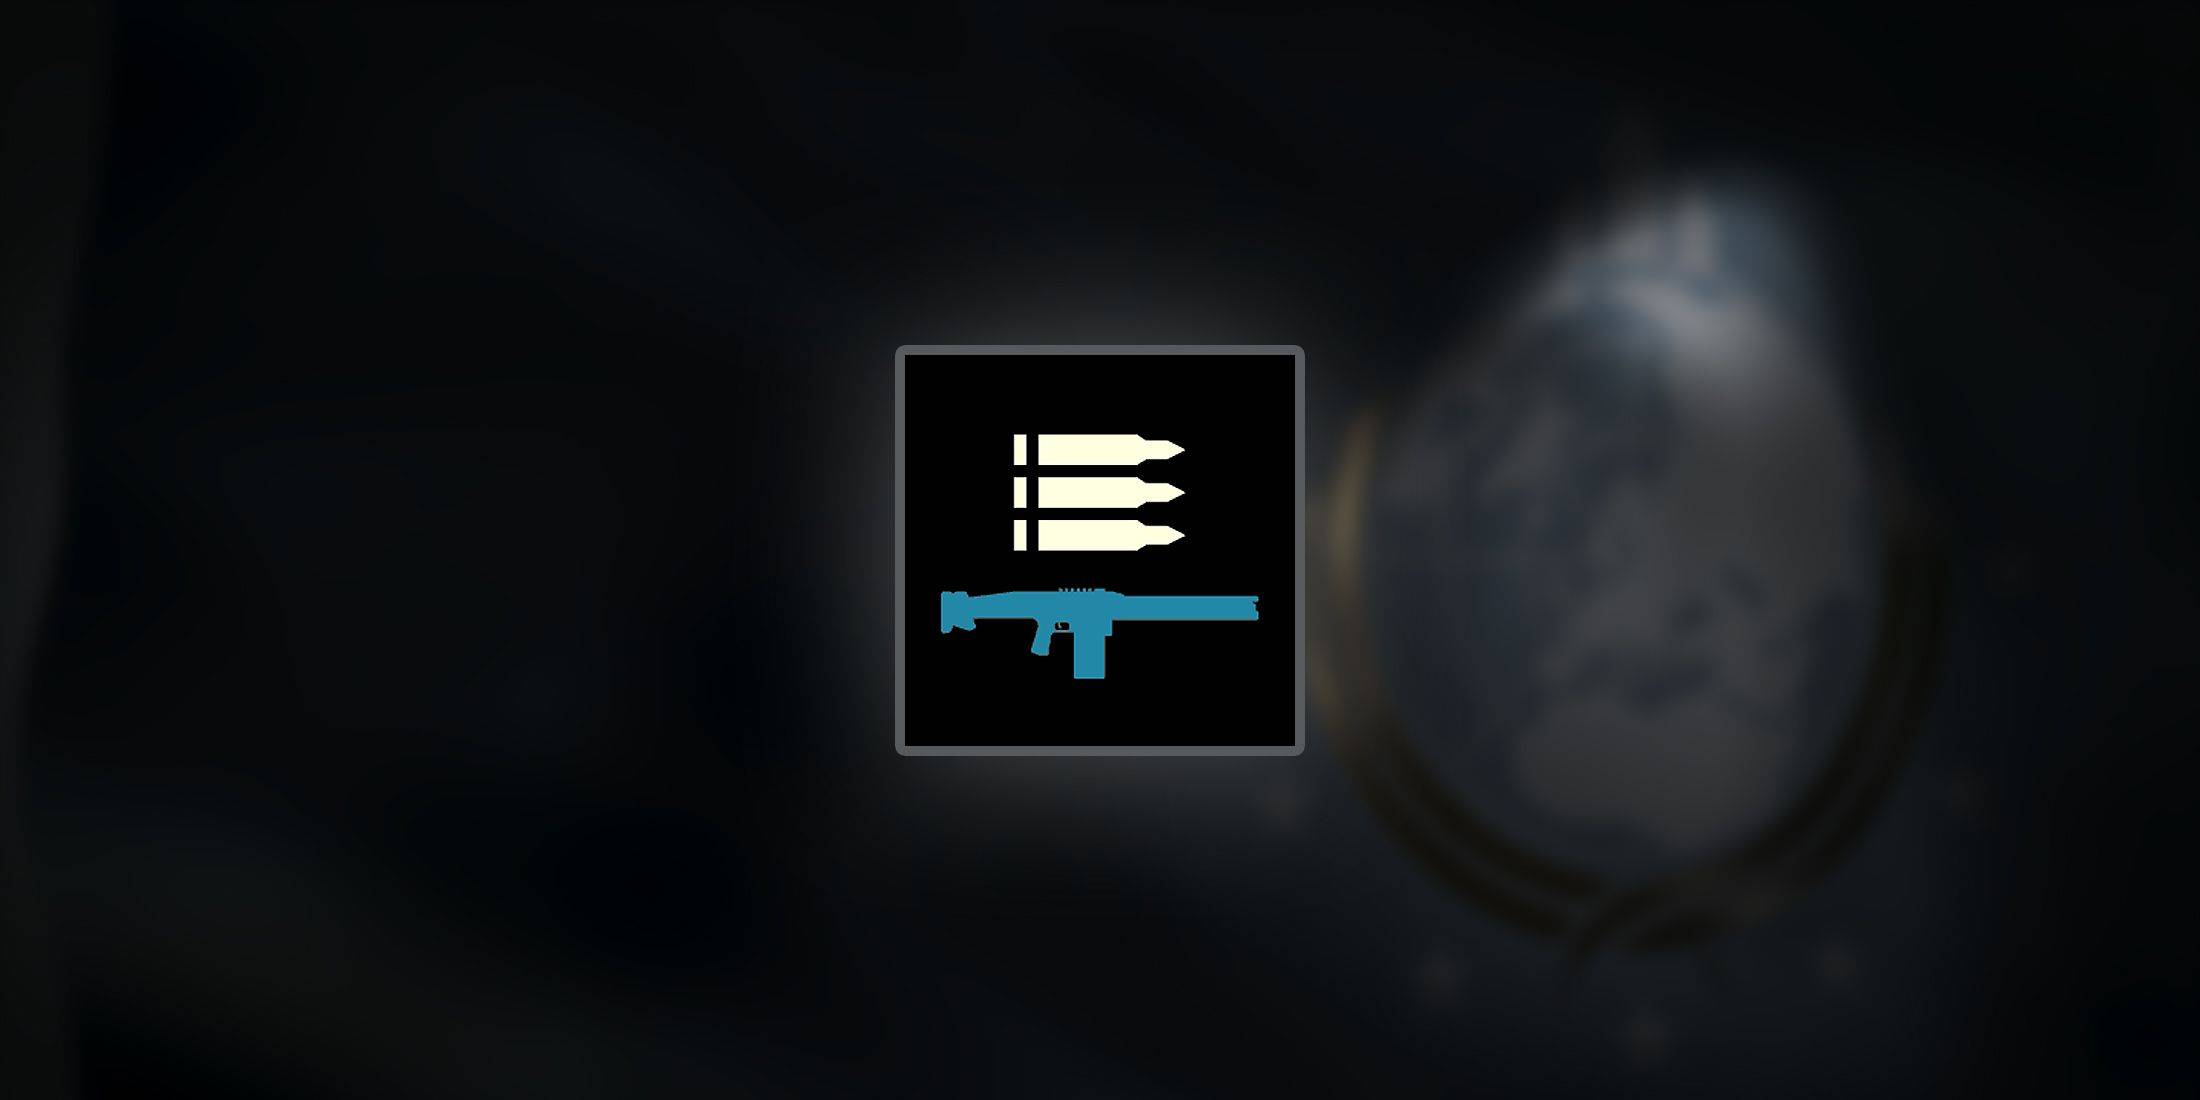
The Machine Gun Loadout: Shredding the Illuminate
| Primary | StA-52 Assault Rifle |
|---|---|
| Secondary | GP-31 Grenade Pistol / CQC-19 Stun Lance |
| Grenade | G-13 Incendiary Impact |
| Armor Passive | Peak Physique / Engineering Kit |
| Stratagems | MG-43 Machine Gun (Support) LIFT-850 Jump Pack Orbital Railcannon Strike / Orbital Laser A/MG-43 Machine Gun Sentry / A/G-16 Gatling Sentry |
The  MG-43 Machine Gun is incredibly versatile against the Illuminate. It shreds light and medium units, and is effective against Harvesters. Compared to the MG-206, it offers better handling and faster infantry takedowns.
Its balance of power and reliability makes it a true jack-of-all-trades. Use the Engineering Kit to reduce recoil or Peak Physique to reduce drag for easier targeting of airborne units.
Its high fire rate is effective at stripping shields, negating the need for the Eagle Strafing Run against warp ships. Choose either turret sentry to control crowds or defend objectives.
The Machine Gun's only weakness is its stationary reload. The  LIFT-850 Jump Pack helps repositioning.
While the Machine Gun handles Harvesters well (target weak points), an Orbital stratagem is helpful for multiple heavies. The Orbital Laser can handle several shielded Harvesters, while the Railcannon Strike is effective against unshielded ones.
For the primary weapon, the StA-52 Assault Rifle (from the Killzone 2 crossover) offers sustained fire with high magazine capacity.
Latest Articles

Snowbreak adds Vidya - Celestial Swan in Fragments of Truth update
Expand your team with Vidya - Celestial SwanDiscover new costumes and gameplay optionsExperience the enhanced Spectral Fantasies eventFollowing the Abyssal Dawn update, Seasun Games introduces "Fragments of Truth" to Snowbreak: Containment Zone, brin

Worms-Style Ballistic Hero VNG Launches in Anime Universe
Ballistic Hero VNG offers a fresh take on the classic Worms-style formula.Annihilate your enemies (or friends) with a vast arsenal of outrageous weapons.Unlock exciting new loadouts and limited-edition skins, or design your own unique fighter.When it
Fortnite's Top Female Character Skins
Fortnite, Epic Games' groundbreaking battle royale, has captured massive appeal not just for its exciting gameplay but also for its constantly expanding assortment of character outfits. Female skins, in particular, are celebrated for their fashionabl
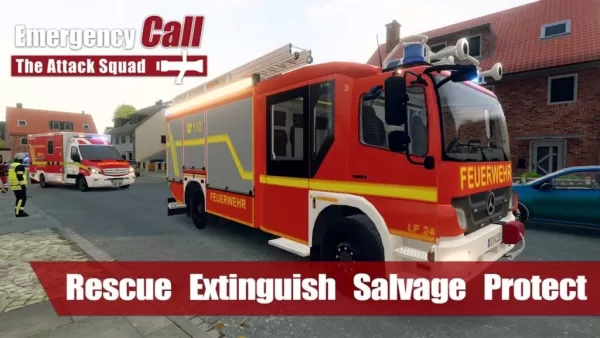
Firefighting Sim Emergency Call 112 Launches on Android
Emergency Call 112 – The Attack Squad arrives today on Android. Published by Aerosoft and developed by Crenetic, this game plunges you into the life of a firefighter. It was first released for PC in December 2023.What Are the Features?In the mobile e
Stellar Blade Creator Posts Record Year, PC Sales to Top PS5
Shift Up, the developer behind Stellar Blade, has achieved record-breaking financial success with its recent action RPG. The PlayStation 5 exclusive generated an impressive $43 million in royalties, while projections indicate the upcoming PC version
Nonogram Puzzle Game Marks 10 Years on Mobile
Ten years ago, Picture Cross launched as World’s Biggest Picture Cross, designed to be the ultimate nonogram experience on mobile. Today, with more than 10,000 puzzles, Picture Cross is marking its 10th anniversary with fresh modes and even more chal
Latest Games

My Gilfiend’s Fiends
Casual丨2007.20M


Đuổi Hình Bắt Chữ - Thử Tài IQ
Word丨89.1 MB


QuizOn- All GK Trivia Quiz App
Trivia丨19.9 MB

Cricket World Champions
Sports丨98.7 MB

Quiz For SW Fans
Trivia丨3.9 MB


Top News
MORE +


01
02-03
Roblox: Anime Adventures Codes (January 2025)
Anime Adventures Codes: A Comprehensive Guide to Free Gems and Rewards
This guide provides an up-to-date list of working and expired Anime Adventures codes in Roblox. Redeeming these codes grants valuable in-game gems and other rewards, giving you a head start in your adventure.
Updated January 5,
02
05-26
Enhance Your MU Immortal Experience with BlueStacks Features
MU Immortal captures the essence of classic MMORPG gameplay that fans adore—leveling up, enhancing stats, and crafting your ideal character. Designed primarily for mobile, the game truly shines when played on a PC using BlueStacks, thanks to an array of tools that streamline and enhance your gaming
03
05-16
"Clair Obscur: Expedition 33 Hits 1 Million Sales in 3 Days"
Clair Obscur: Expedition 33 has taken the gaming world by storm, achieving a phenomenal opening weekend by selling over 1 million copies just three days after its launch. This remarkable feat cements its status as the highest player-rated game of early 2025. Dive deeper into the journey of this grou
04
04-21
Roblox Anime Genesis: January 2025 Codes
Dive into the thrilling world of Anime Genesis, a dynamic tower defense game on Roblox where you assemble a squad of your favorite anime characters to fend off menacing monsters. Whether you're tackling levels solo or teaming up with friends, you'll earn gems that you can use to summon new heroes, e
05
01-20
New DLC and Preorder for FANTASIAN
FANTASIAN Neo Dimension: DLC and Pre-order Information
While anticipation for extra content is high, a FANTASIAN Neo Dimension DLC or story expansion is unlikely. Mistwalker head Hironobu Sakaguchi has stated his preference against sequels, aiming for complete, self-contained gaming experiences.
Topics
More +