How to Connect the Asus ROG Ally to a TV or Gaming Monitor
Author : Sebastian
Feb 23,2025
The ROG Ally, a compelling Steam Deck alternative, gained popularity in 2023 for its Windows OS and expansive game library. The 2023 ROG Ally X upgrade enhanced performance and ergonomics with improved cooling.
While its portability is a key feature, connecting to a TV or monitor for a larger screen experience is also valuable. Both ROG Ally models offer this capability. Below, we detail how to connect your ROG Ally to a TV or monitor, providing step-by-step instructions and recommendations.
Connecting with an Adapter
Several methods exist, but adapters offer a simple, space-saving solution. Options range from compact dongles to direct cables and the official ROG Gaming Charger Dock.
Required Items
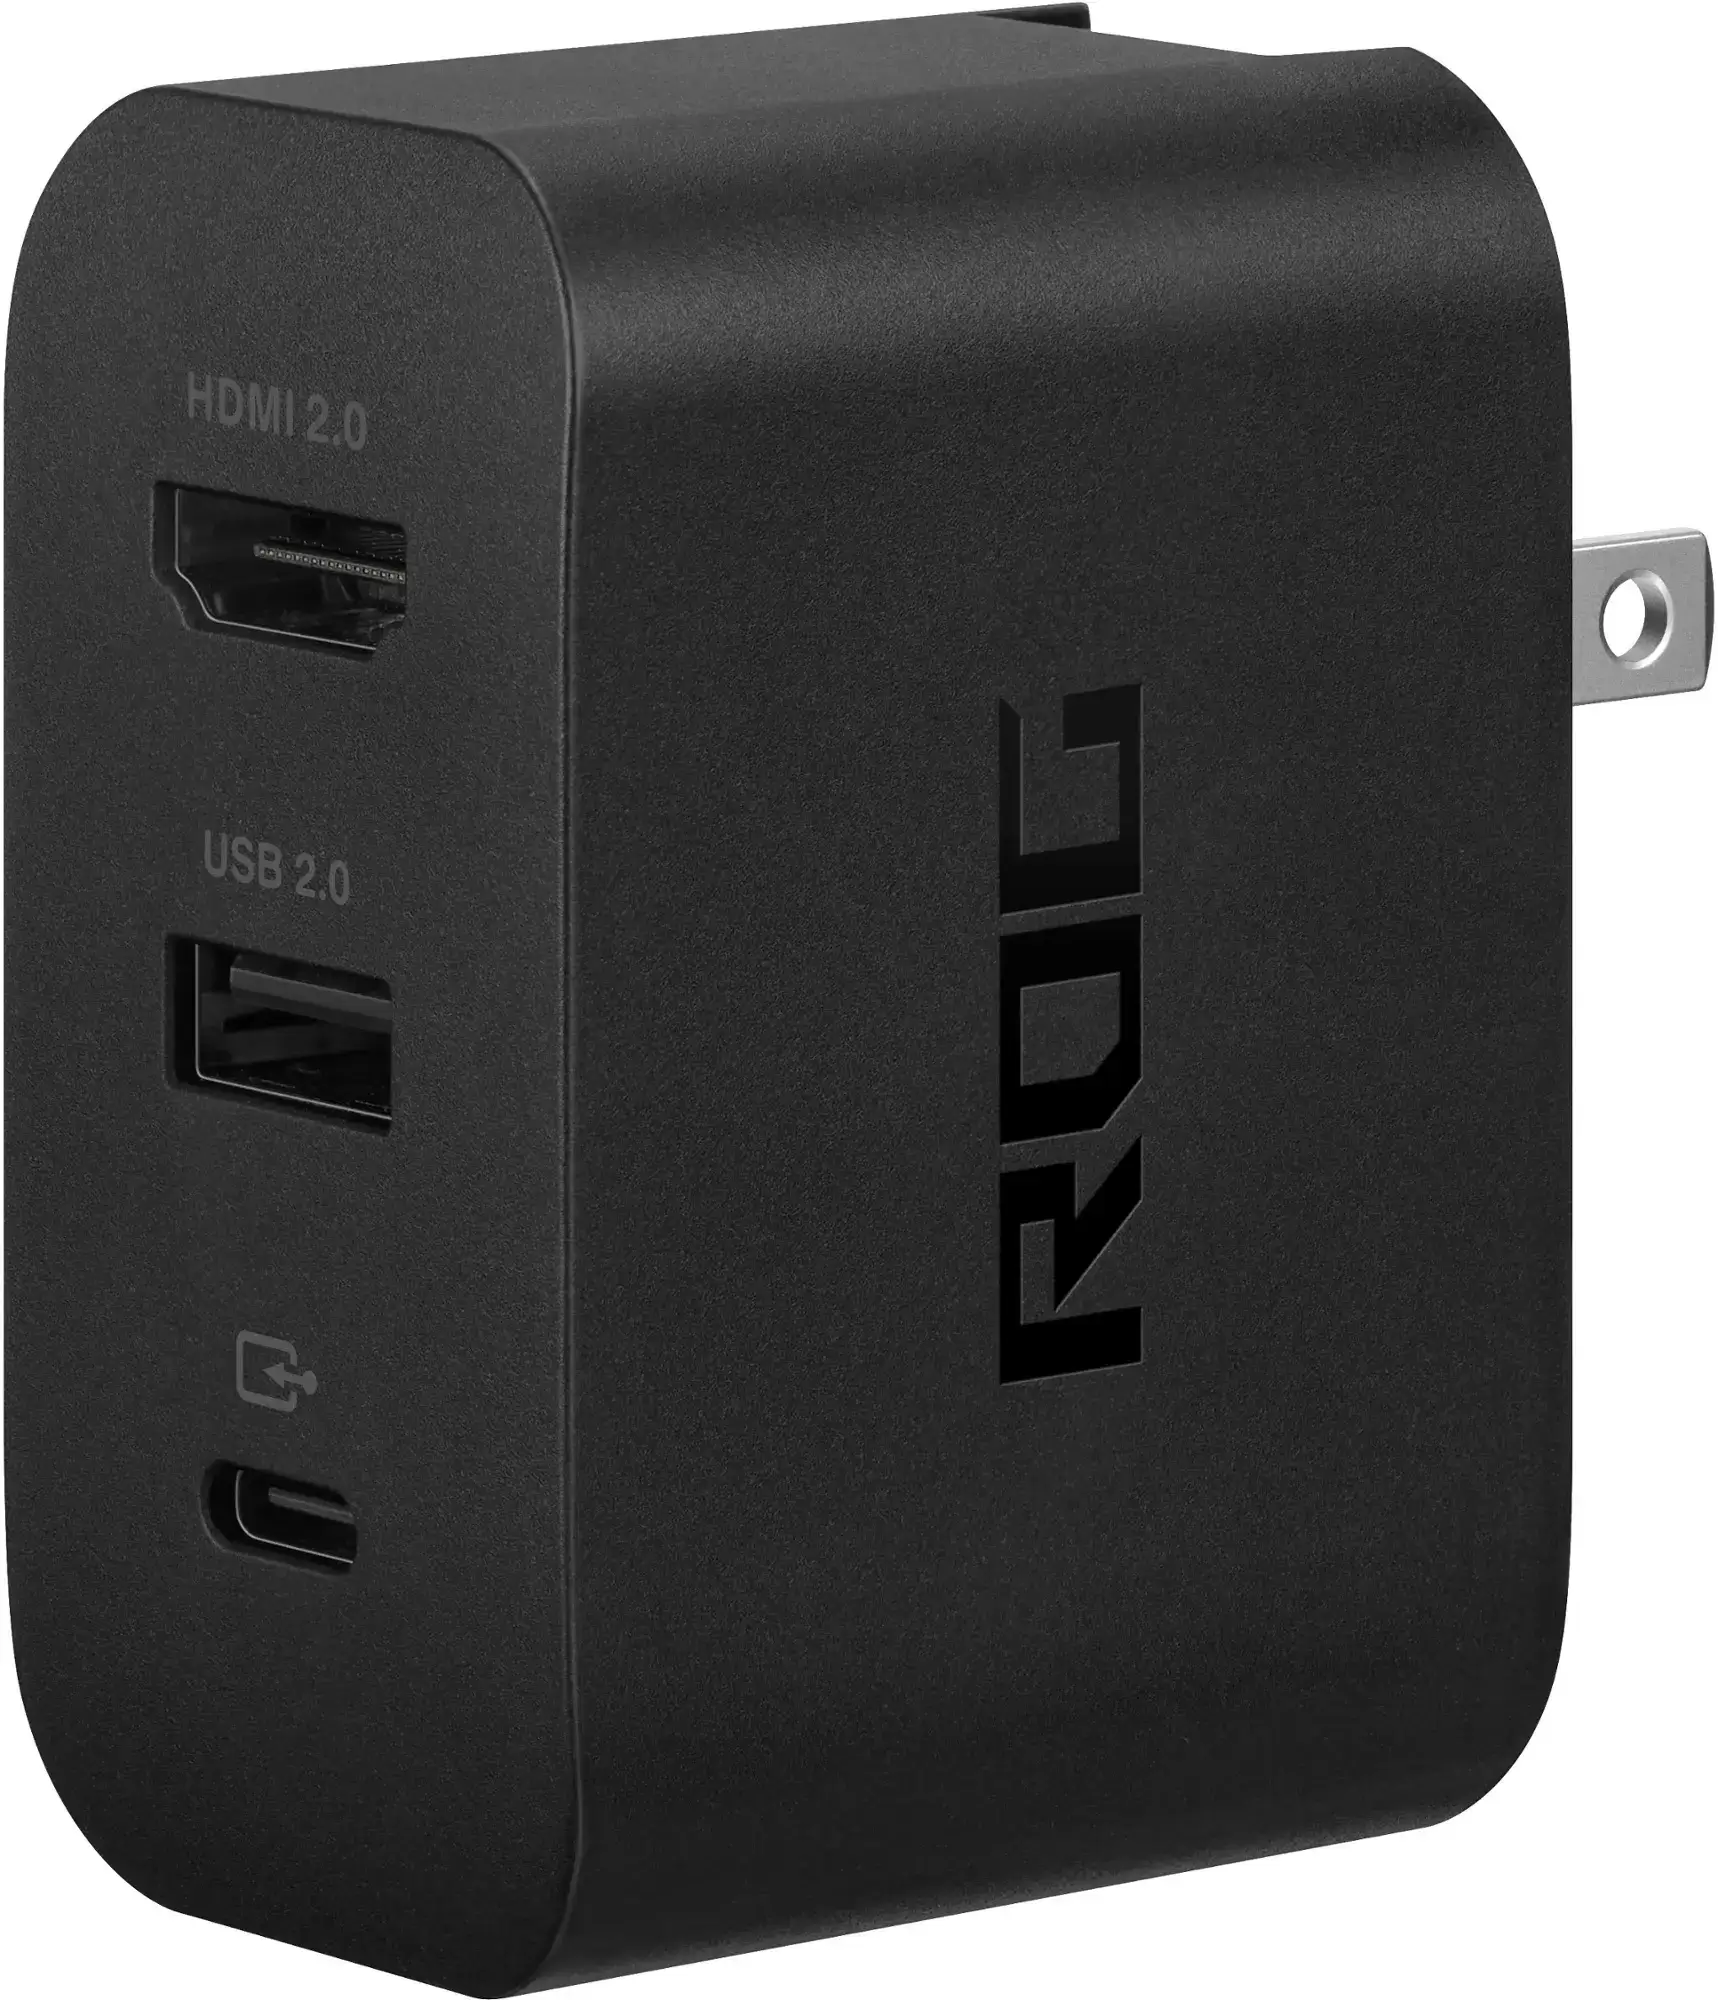 ### ASUS ROG 65W Charger Dock
0Supports HDMI 2.0, USB-A, and USB-C for seamless ROG Ally connectivity.See it at Best BuyAsus simplifies the connection process with the official ROG Gaming Charger Dock. This doubles as a charger, requiring only a USB-C and HDMI cable. It also includes a USB-A port for mouse/keyboard use.
Third-party USB-C to HDMI adapters connect directly to the ROG Ally's USB-C port. An HDMI cable links the adapter to your TV/monitor. Alternatively, a single USB-C to HDMI cable eliminates extra steps.
Some adapters feature a passthrough USB-C port for power. If so, an additional USB-C cable and power adapter are needed to charge while connected to the external display.
Step-by-Step Instructions
- Plug a USB-C to HDMI adapter (or cable) into the ROG Ally's top USB-C port. For the ROG Gaming Charger Dock, connect a USB-C cable between the Ally and the dock's USB-C port.
- Connect an HDMI cable to the adapter (or dock) and your TV/monitor's HDMI port. For a direct USB-C to HDMI cable, connect directly to the monitor.
- (Optional) If your adapter has a passthrough USB-C port, connect your power adapter for charging.
- Power on the ROG Ally. It should automatically detect and output the video signal.
- Select the correct HDMI input on your TV/monitor.
Connecting with a Docking Station
For a Nintendo Switch-like setup, consider a docking station. While no official dock exists (besides the ROG Gaming Charger Dock), numerous third-party options are available, offering a stand and charging capabilities.
Required Items
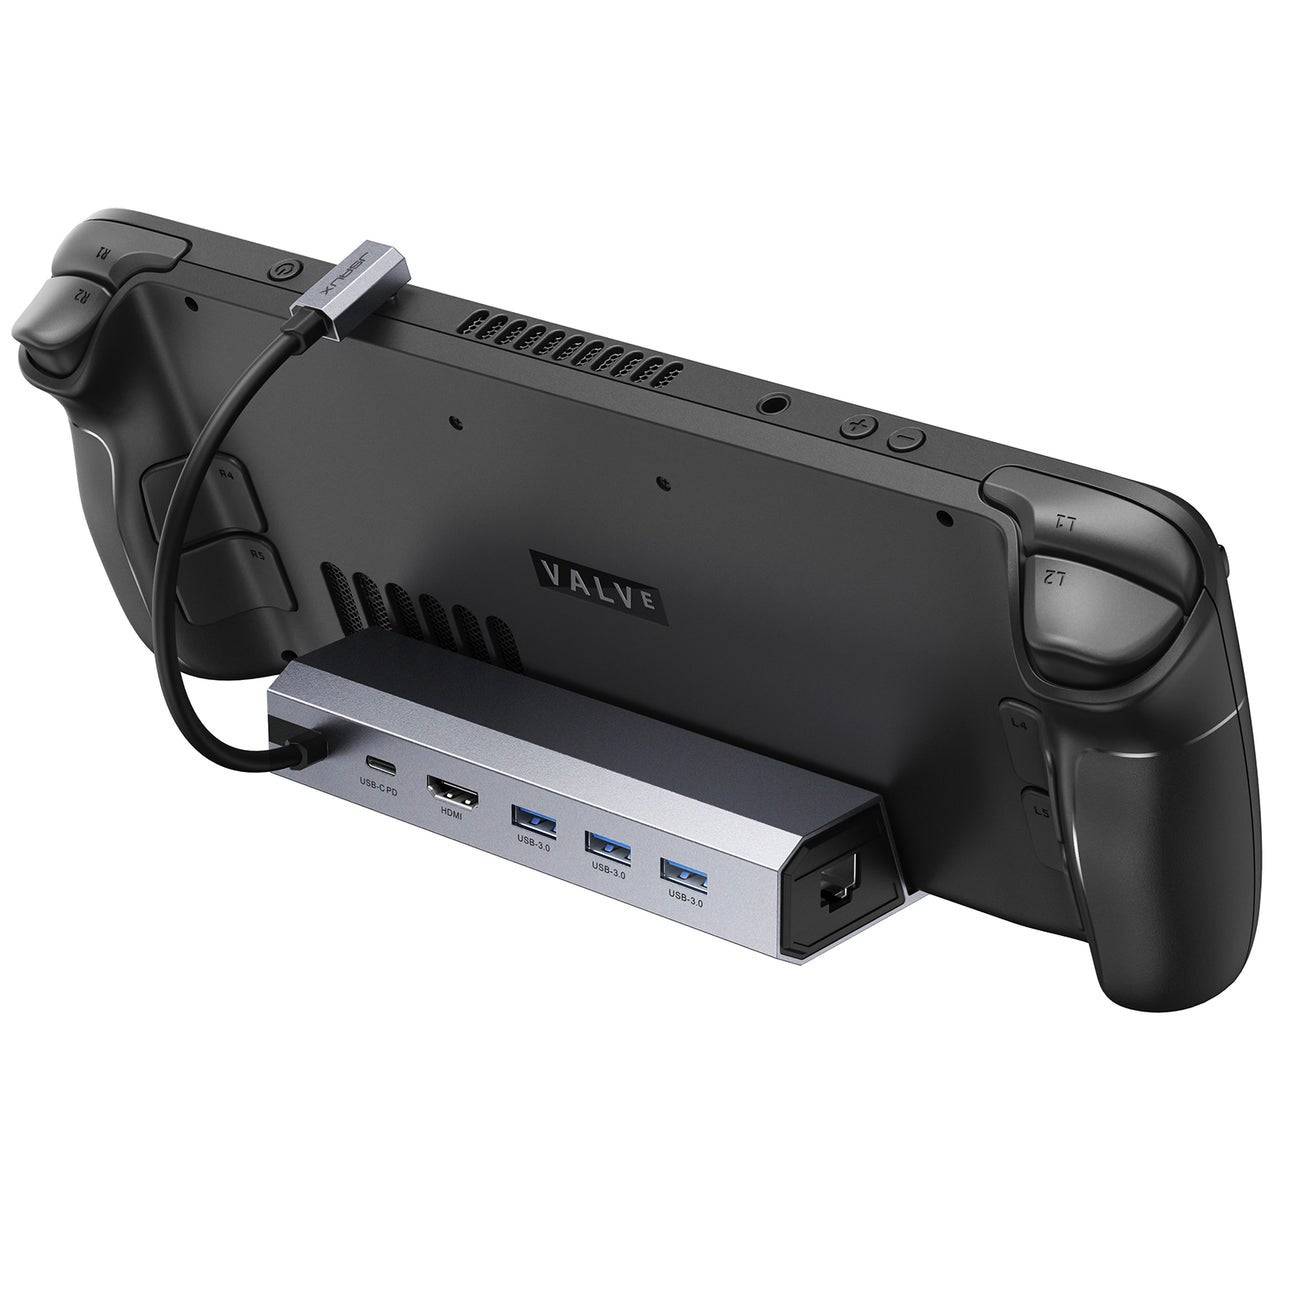 Our Top Pick### JSAUX Docking Station HB0603
2100 watts of power for fast charging, multiple ports, and a compact, lightweight design.See it at AmazonBasic docks include HDMI and a USB-C passthrough charging port. More advanced docks offer extra USB ports, Ethernet, SD card slots, and even DisplayPort for multiple displays. Smaller, portable docks are ideal for travel. Many Steam Deck docks are also compatible.
Step-by-Step Instructions
- Place the ROG Ally in the dock.
- Connect the USB-C power cord to the Ally's top USB-C port.
- Connect the power adapter to the dock's USB-C charging port.
- Connect an HDMI cable between the dock and your TV/monitor.
- Power on the ROG Ally; it should automatically detect and output the video signal.
- Select the correct HDMI input on your TV/monitor.
Controller Considerations
While mouse and keyboard work, a wireless controller provides a more comfortable large-screen gaming experience. The ROG Ally supports Bluetooth controllers. The following are recommended controllers (also compatible with Steam Deck):
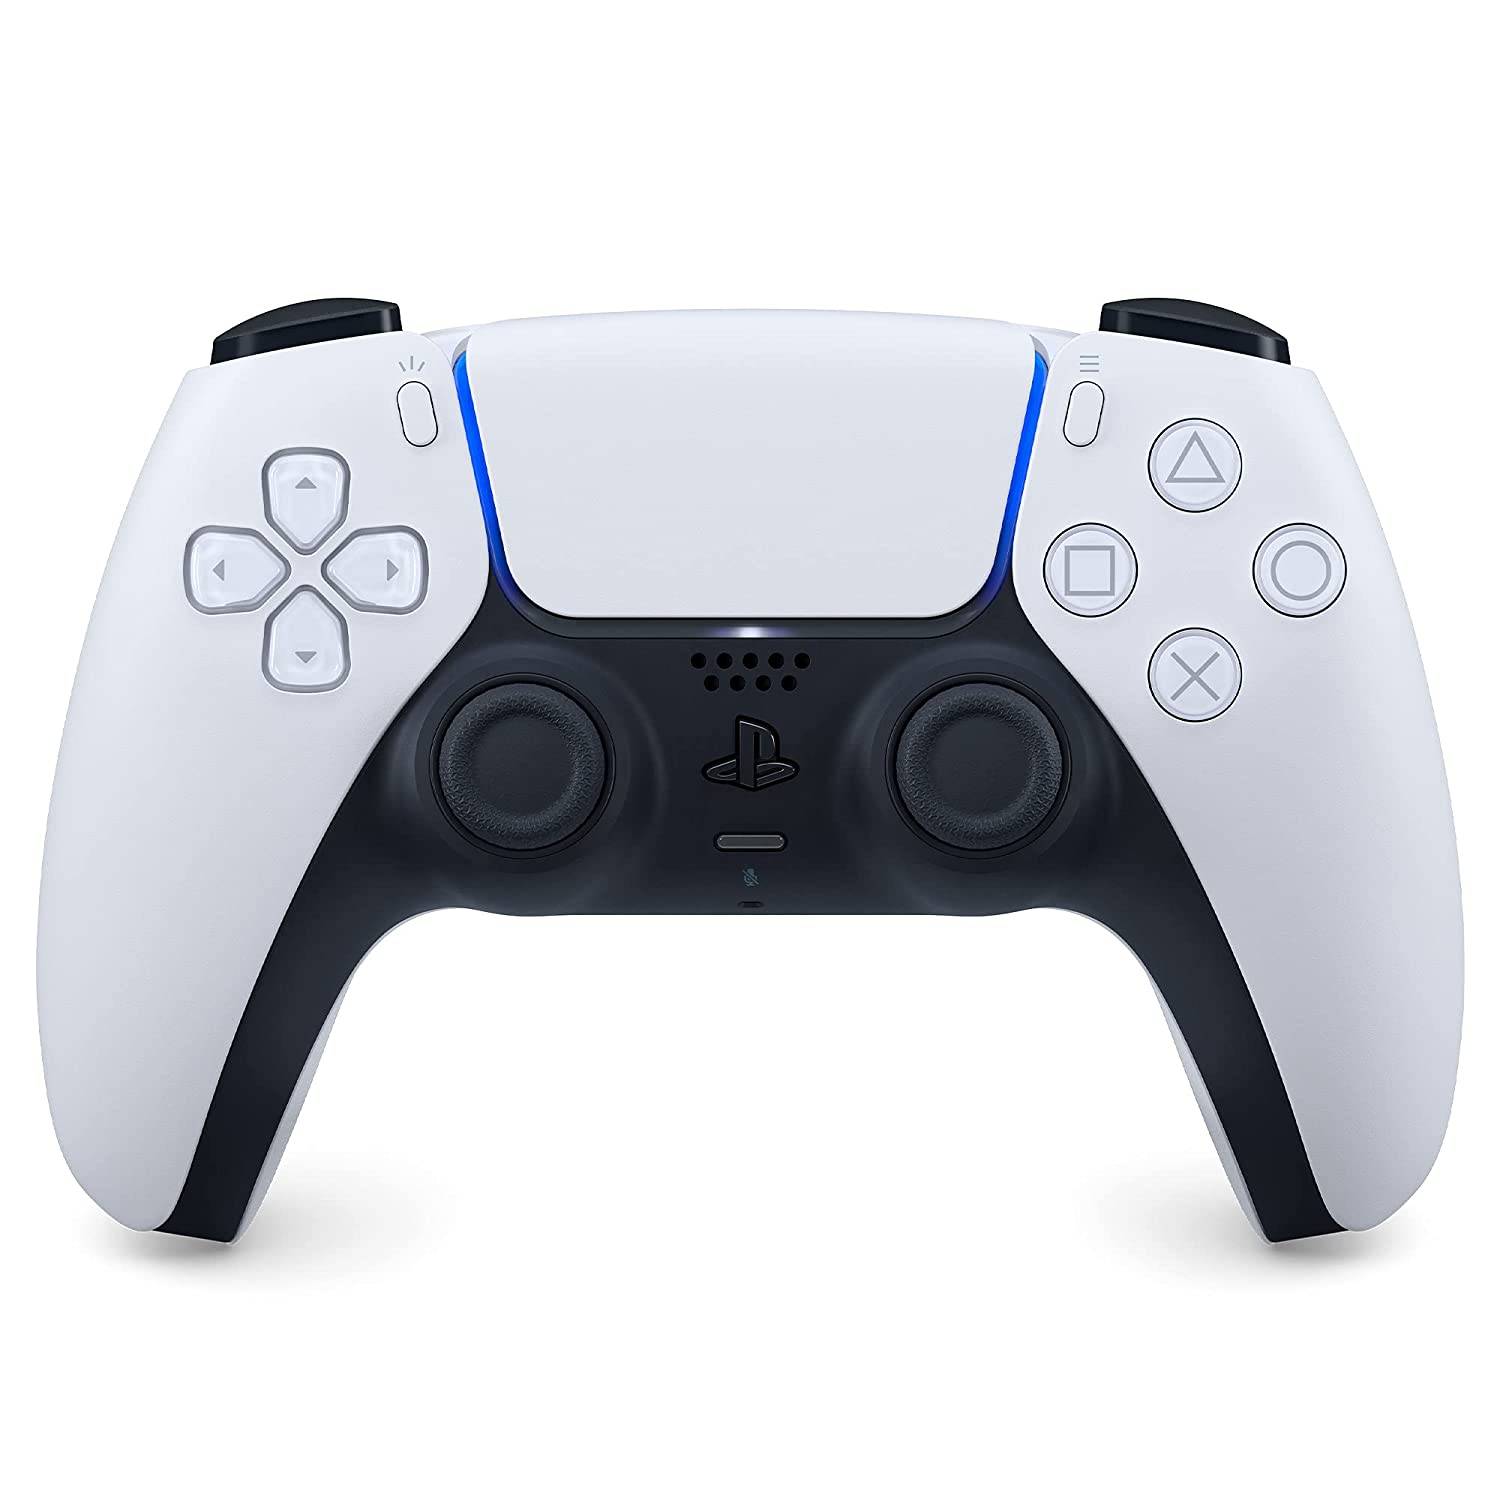 Our Top Pick### Sony DualSense
1See it at AmazonSee it at Best BuySee it at Target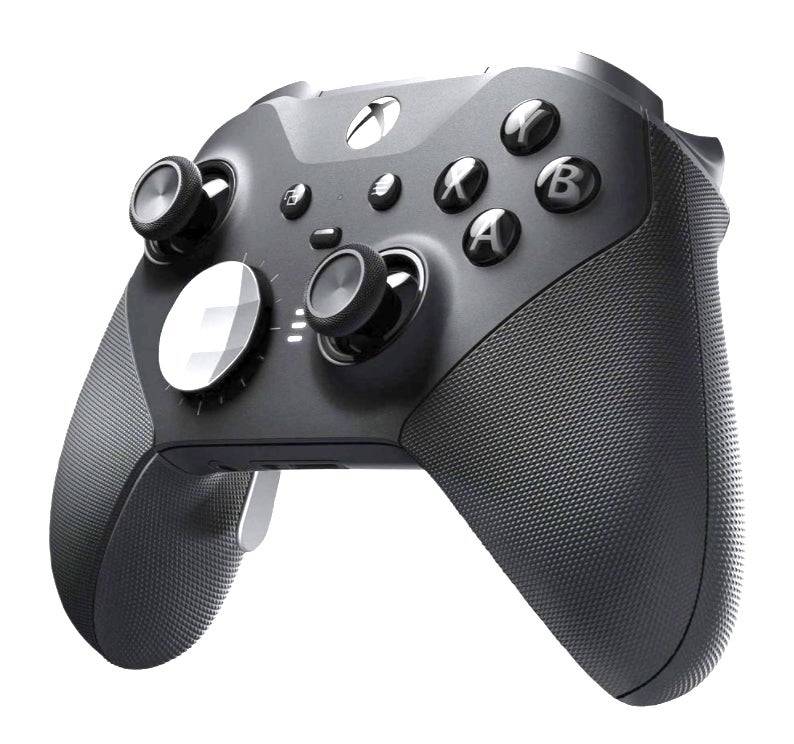 ### Xbox Elite Series 2 Controller
4See it at AmazonSee it at Best Buy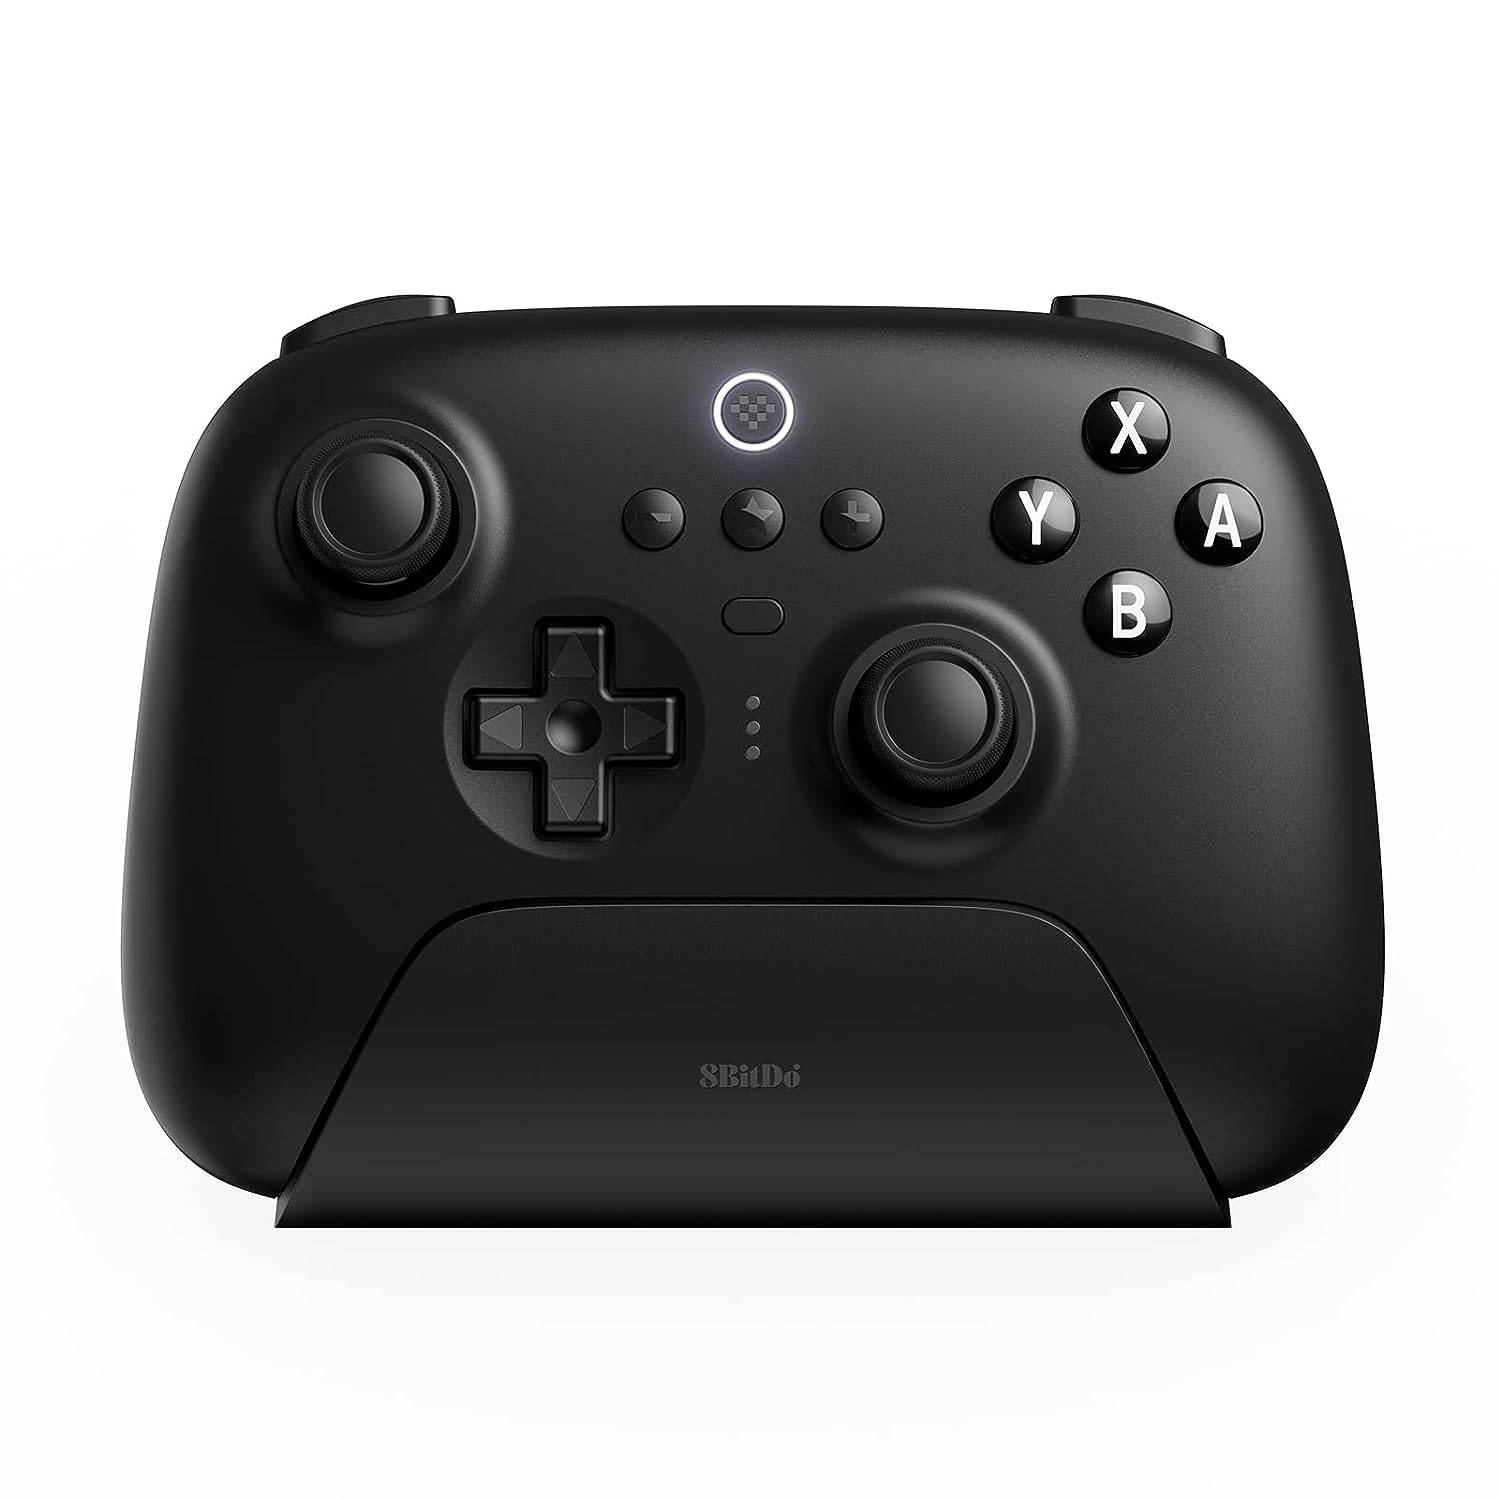 ### 8BitDo Ultimate Controller
0See it at Amazon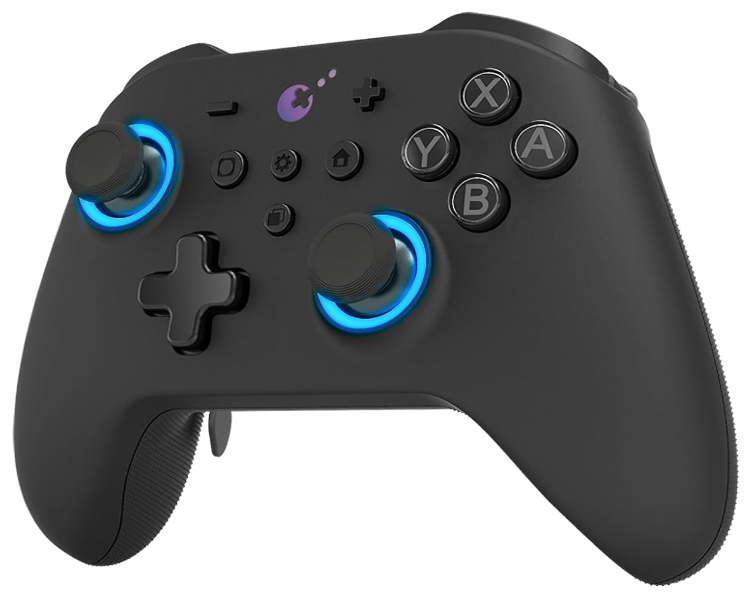 ### GuliKit KingKong 3 Max Controller
1See it at Amazon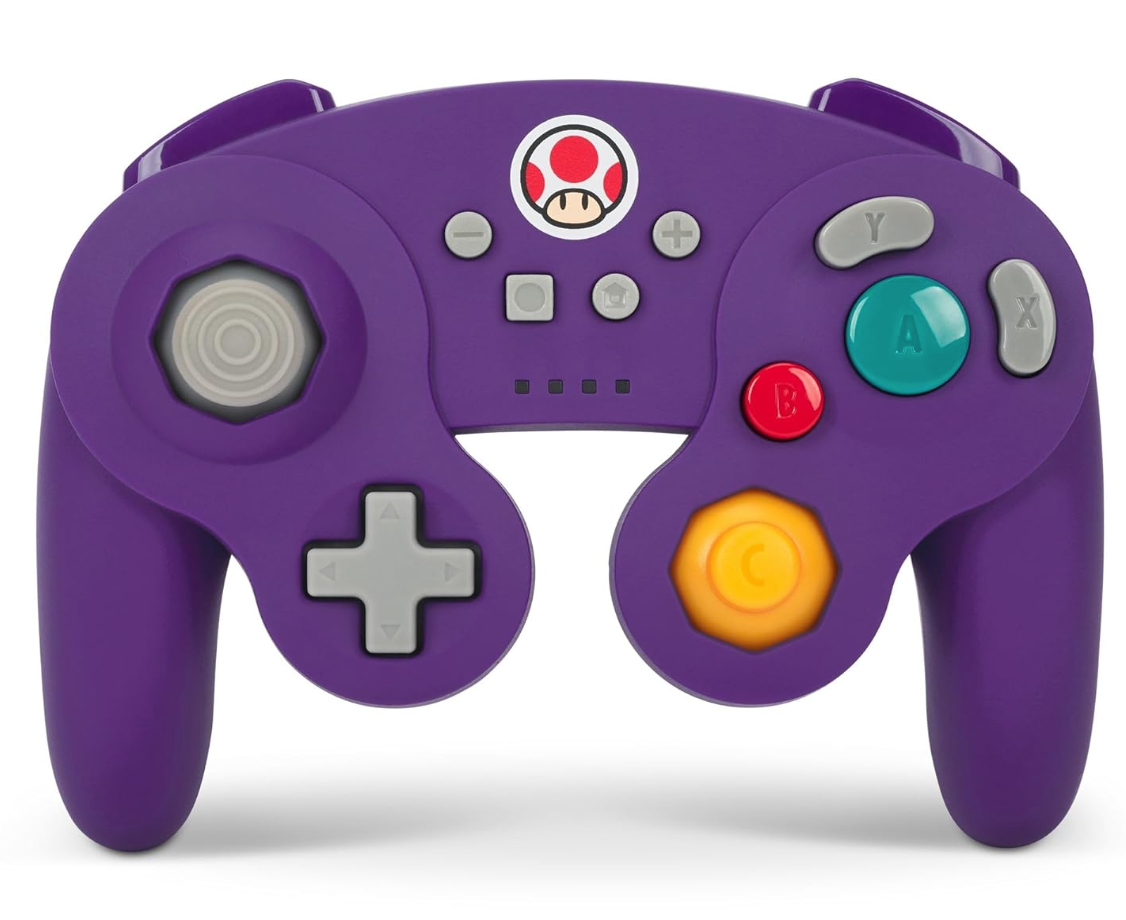 ### PowerA Wireless GameCube Style Controller
2See it at AmazonOptions include first-party controllers (DualSense, Xbox Wireless, Switch Pro) and various third-party choices. 2.4GHz wireless controllers often offer lower latency and better range than Bluetooth. Wired USB controllers are also an option for close proximity.
Latest Articles

Firefighting Sim Emergency Call 112 Launches on Android
Emergency Call 112 – The Attack Squad arrives today on Android. Published by Aerosoft and developed by Crenetic, this game plunges you into the life of a firefighter. It was first released for PC in December 2023.What Are the Features?In the mobile e
Stellar Blade Creator Posts Record Year, PC Sales to Top PS5
Shift Up, the developer behind Stellar Blade, has achieved record-breaking financial success with its recent action RPG. The PlayStation 5 exclusive generated an impressive $43 million in royalties, while projections indicate the upcoming PC version
Nonogram Puzzle Game Marks 10 Years on Mobile
Ten years ago, Picture Cross launched as World’s Biggest Picture Cross, designed to be the ultimate nonogram experience on mobile. Today, with more than 10,000 puzzles, Picture Cross is marking its 10th anniversary with fresh modes and even more chal
Sesame Street Finds New Home on Netflix After HBO Max
The journey to Sesame Street continues. The beloved children's series, which first premiered in 1969, will now be available for streaming on Netflix and PBS after HBO and Max concluded their long-term agreement with the show at the end of 2024.New ep
Seven Knights Re:BIRTH: Global Android Pre-Registration Now Open
Netmarble is reviving one of its most beloved mobile RPGs with a fresh twist: Seven Knights Re:BIRTH. Global pre-registration is now live, and we’ve gotten our first glimpse of the game’s reimagined world.
The original Seven Knights launched in Octob
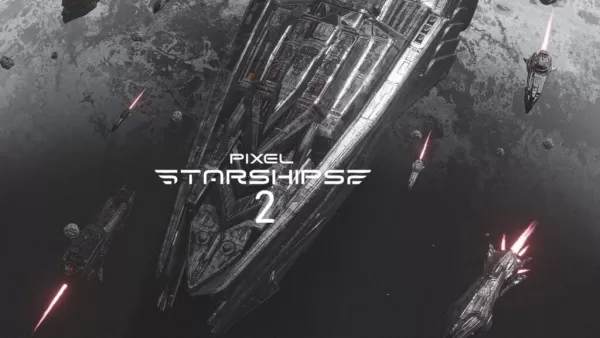
Pixel Starships 2 Android Pre-Register, Demo at Steam Fest
Pixel Starships 2 is coming to Android. Savy Soda's next chapter in their starship strategy series is scheduled to launch in early access this Fall for mobile and PC. Pre-registration is now open on Android for this sequel to the 2016 original.What's
Latest Games

Baalveer New Game
Trivia丨21.2 MB

Pro Pilkki 2 - Ice Fishing
Simulation丨113.5 MB

Rich Monkey
Card丨2.80M

Euchre Classic Card Game
Card丨36.00M

Football Games 2024 Offline
Sports丨49.6 MB


갓오브하이스쿨: 리부트
Role Playing丨175.7 MB

성녀 키우기
Simulation丨1.0 GB


Top News
MORE +

01
02-03
Roblox: Anime Adventures Codes (January 2025)
Anime Adventures Codes: A Comprehensive Guide to Free Gems and Rewards
This guide provides an up-to-date list of working and expired Anime Adventures codes in Roblox. Redeeming these codes grants valuable in-game gems and other rewards, giving you a head start in your adventure.
Updated January 5,
02
05-26
Enhance Your MU Immortal Experience with BlueStacks Features
MU Immortal captures the essence of classic MMORPG gameplay that fans adore—leveling up, enhancing stats, and crafting your ideal character. Designed primarily for mobile, the game truly shines when played on a PC using BlueStacks, thanks to an array of tools that streamline and enhance your gaming
03
05-16
"Clair Obscur: Expedition 33 Hits 1 Million Sales in 3 Days"
Clair Obscur: Expedition 33 has taken the gaming world by storm, achieving a phenomenal opening weekend by selling over 1 million copies just three days after its launch. This remarkable feat cements its status as the highest player-rated game of early 2025. Dive deeper into the journey of this grou
04
04-21
Roblox Anime Genesis: January 2025 Codes
Dive into the thrilling world of Anime Genesis, a dynamic tower defense game on Roblox where you assemble a squad of your favorite anime characters to fend off menacing monsters. Whether you're tackling levels solo or teaming up with friends, you'll earn gems that you can use to summon new heroes, e
05
01-20
New DLC and Preorder for FANTASIAN
FANTASIAN Neo Dimension: DLC and Pre-order Information
While anticipation for extra content is high, a FANTASIAN Neo Dimension DLC or story expansion is unlikely. Mistwalker head Hironobu Sakaguchi has stated his preference against sequels, aiming for complete, self-contained gaming experiences.
Topics
More +