Play Whiteout Survival on PC Using BlueStacks: A Guide
Author : Henry
Apr 11,2025
In the gripping mobile strategy game *Whiteout Survival*, you lead the last bastion of humanity in a world transformed by a glacial apocalypse. Your mission is clear but challenging: guide your people through the relentless cold, fend off vicious creatures, and outsmart ruthless bandits. To survive and thrive, you'll need to gather crucial resources, innovate with new technologies, enlist heroes with extraordinary abilities, and engage in fierce battles. It's a relentless struggle for dominance in a frozen wasteland.
Installing Whiteout Survival on PC
Ready to dive into the icy depths of Whiteout Survival on a bigger screen? Here's how you can install it on your PC using BlueStacks:
- Visit the Game’s Page: Head over to the Whiteout Survival page and hit the “Play Whiteout Survival on PC” button.
- Install BlueStacks: Download and install BlueStacks, then launch it.
- Sign into Google Play Store: Log in to access the Google Play Store and install the game from there.
- Start Playing: Once installed, launch the game and begin your survival journey on a larger screen.
How to Install Whiteout Survival on Mac with BlueStacks Air
For Mac users, installing Whiteout Survival via BlueStacks Air is straightforward:
- Download BlueStacks Air: Go to the official BlueStacks website and download the BlueStacks Air installer by clicking on “Download BlueStacks Air”.
- Install BlueStacks Air: Open the .dmg file you've downloaded, then drag and drop the BlueStacks icon into your Applications folder.
- Launch and Sign In: Start BlueStacks Air from the Launchpad or Applications folder. Sign in with your Google account to access the Play Store.
- Install Whiteout Survival: Use the search function to find Whiteout Survival in the Play Store, install it, and you're set to play.
- Enjoy Playing: Launch the game and embark on your survival adventure!
For Those Who Already Have BlueStacks Installed
If BlueStacks is already on your system, here's how to get Whiteout Survival up and running:
- Launch BlueStacks: Open BlueStacks on your PC or Mac.
- Search for Whiteout Survival: Use the homescreen search bar to find Whiteout Survival.
- Install the Game: Click on the relevant result to install the game.
- Start Playing: Once installed, launch Whiteout Survival and begin your journey in the frozen apocalypse.
Minimum System Requirements
BlueStacks is designed to run on virtually any system, with the following minimum requirements:
- OS: Microsoft Windows 7 and above, macOS 11 (Big Sur) or above.
- Processor: Intel, AMD Processor or Apple Silicon Processor.
- RAM: At least 4GB of RAM.
- Storage: 10GB Free Disk Space.
- Permissions: Administrator access on your PC.
- Graphics Drivers: Ensure your graphics drivers are up-to-date, sourced from Microsoft or the chipset vendor.
For more detailed information, be sure to check out the Whiteout Survival page on the Google Play Store. Dive deeper into the game with our comprehensive BlueStacks Blogs, where you'll find tips, strategies, and more to enhance your gameplay experience. Playing Whiteout Survival on a bigger screen with a keyboard and mouse through BlueStacks can significantly elevate your gaming experience.
Latest Articles

Azur Promilia Drops New Game Trailer
Azur Promilia emerges as the highly anticipated follow-up to the popular Azur Lane franchiseDeparting from naval warfare, the game transports players to a rich fantasy realmEngage in combat with dangerous creatures while taming allies for base operat

Halfbrick Launches Jetpack Joyride Racing
Jetpack Joyride Racing is launching on mobile devices this June.Registration for the closed beta is now available.Hop into karts and take control of iconic Halfbrick characters as you compete for racing supremacy.When it comes to defining early mobil
CookieRun Kingdom: Fire Spirit vs. Sea Fairy Battle
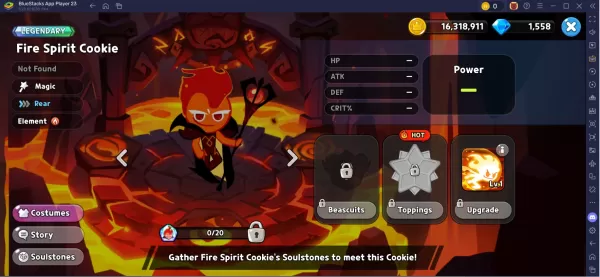
CookieRun: Kingdom has rolled out its massive "The Flame Awakens" update, introducing the blazing Fire Spirit Cookie alongside Agar Agar Cookie. Since launch, players have debated whether Fire Spirit can surpass Sea Fairy Cookie in damage output and
NetEase Lays Off Marvel Rivals Director, Seattle Team
NetEase, the developer of Marvel Rivals, has confirmed it reduced the size of its Seattle-based design team, citing organizational restructuring.Marvel Rivals Game Director Thaddeus Sasser recently announced on LinkedIn that he and his team were let
Humblets: Cozy Co-op Adventure Revealed for PC
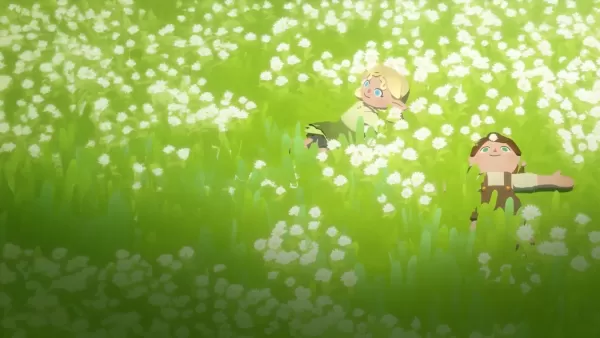
Developer Berry Bite and publisher HypeTrain Digital have unveiled Humblets, an upcoming cozy cooperative adventure for PC. Set within a charming procedurally generated world, the game promises vibrant landscapes, cute companion pets, and a magical c
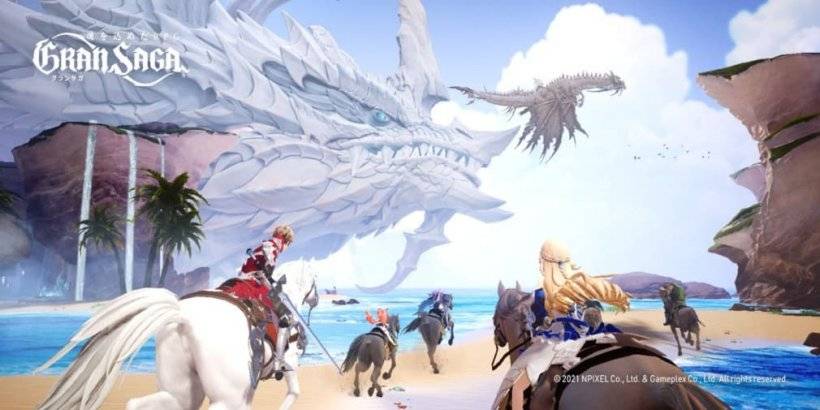
Gran Saga shuts down next month
Gran Saga Announces Official ShutdownNPIXEL has confirmed Gran Saga will cease operations permanently on April 30th, 2025. The developers have already disabled in-app purchases and downloads ahead of the closure.A Brief International RunAfter launchi
Latest Games


Jackpot Vegas Hits Slots
Card丨39.10M

Fruit Summer Slots Machine
Card丨17.80M

Solitario Piramide
Card丨3.40M


Bleach vs Naruto
Action丨99.59M

Succubus Challenge
Casual丨83.20M

Acquainted
Casual丨115.01M


Top News
MORE +

01
02-03
Roblox: Anime Adventures Codes (January 2025)
Anime Adventures Codes: A Comprehensive Guide to Free Gems and Rewards
This guide provides an up-to-date list of working and expired Anime Adventures codes in Roblox. Redeeming these codes grants valuable in-game gems and other rewards, giving you a head start in your adventure.
Updated January 5,
02
05-26
Enhance Your MU Immortal Experience with BlueStacks Features
MU Immortal captures the essence of classic MMORPG gameplay that fans adore—leveling up, enhancing stats, and crafting your ideal character. Designed primarily for mobile, the game truly shines when played on a PC using BlueStacks, thanks to an array of tools that streamline and enhance your gaming
03
05-16
"Clair Obscur: Expedition 33 Hits 1 Million Sales in 3 Days"
Clair Obscur: Expedition 33 has taken the gaming world by storm, achieving a phenomenal opening weekend by selling over 1 million copies just three days after its launch. This remarkable feat cements its status as the highest player-rated game of early 2025. Dive deeper into the journey of this grou
04
04-21
Roblox Anime Genesis: January 2025 Codes
Dive into the thrilling world of Anime Genesis, a dynamic tower defense game on Roblox where you assemble a squad of your favorite anime characters to fend off menacing monsters. Whether you're tackling levels solo or teaming up with friends, you'll earn gems that you can use to summon new heroes, e
05
01-20
New DLC and Preorder for FANTASIAN
FANTASIAN Neo Dimension: DLC and Pre-order Information
While anticipation for extra content is high, a FANTASIAN Neo Dimension DLC or story expansion is unlikely. Mistwalker head Hironobu Sakaguchi has stated his preference against sequels, aiming for complete, self-contained gaming experiences.
Topics
More +