"Strategies to Defeat and Capture Hirabami in Monster Hunter Wilds"
Author : Nora
Jul 14,2025
As you journey deeper into the untamed wilderness of *Monster Hunter Wilds*, the environment becomes more unforgiving. The icy winds bite through your armor, but the chilling climate is only part of the challenge—you’ll soon find yourself surrounded by not one, not two, but three enraged Hirabami at once. This high-stakes boss encounter tests both your preparation and combat strategy.
Recommended Videos
Table of Contents
- Monster Hunter Wilds Hirabami Boss Fight Guide
- Bring Large Dung Pods
- Use Heavy Slicing Pod Slinger Ammo
- Utilize Environmental Traps
- Aim for the Head
- Watch the Tail
- How to Capture Hirabami in Monster Hunter Wilds
Monster Hunter Wilds Hirabami Boss Fight Guide
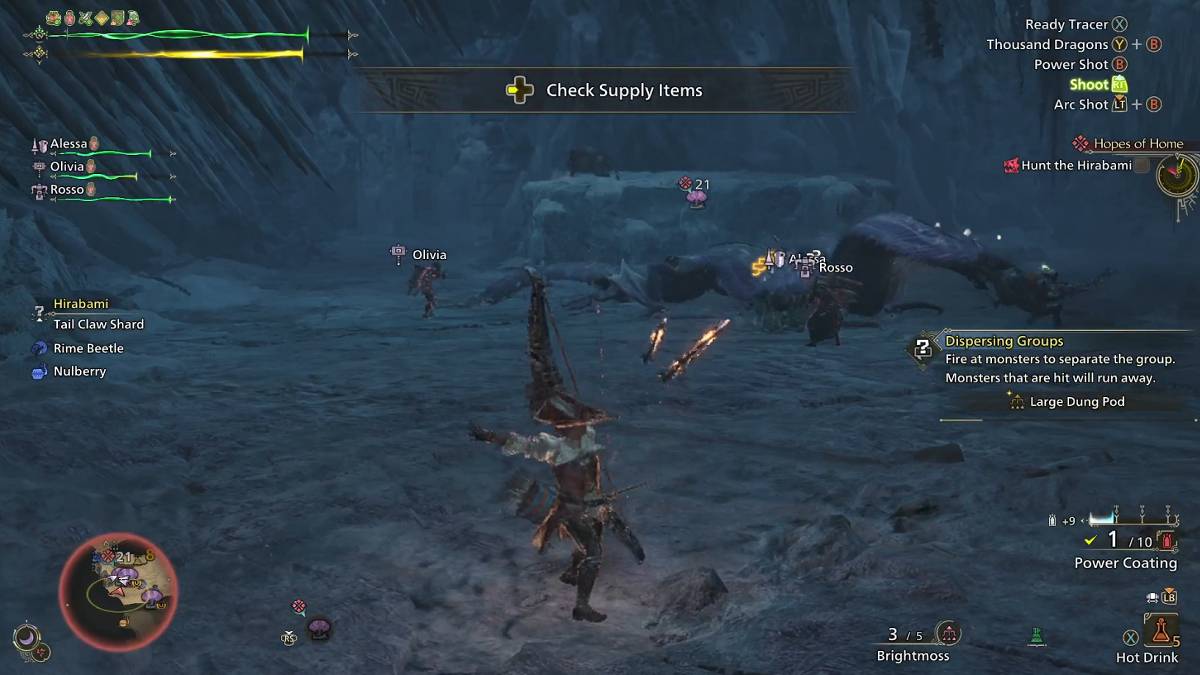
Screenshot by The Escapist
- Known Habitats: Iceshard Cliffs
- Breakable Parts: Head and Tail
- Recommended Elemental Attack: Fire
- Effective Status Effects: Poison (3x), Sleep (3x), Paralysis (2x), Blastblight (2x), Stun (2x), Exhaust (2x)
- Effective Items: Pitfall Trap, Shock Trap, Flash Pod
Bring Large Dung Pods
Fighting multiple enemies simultaneously can be overwhelming, and Hirabami is no exception. These airborne foes often attack in unison, making them a coordinated threat. Your best bet is to use Large Dung Pods, which effectively scatter the group and isolate individual targets. With the pack dispersed, you can focus on taking them down one at a time without being swarmed.
Use Heavy Slicing Pod Slinger Ammo
Hirabami’s tendency to hover above the ground makes it difficult for melee-focused hunters to engage directly. If you're wielding a ranged weapon like a Bow, this won’t be an issue. However, melee users should prioritize using Heavy Slicing Pod Slinger Ammo. You can either bring these with you or craft them by severing a Hirabami tail—each drop yields a Tail Claw Shard that converts into usable ammo.
Utilize Environmental Traps
The battlefield itself offers strategic advantages. In the Iceshard Cliffs, look out for natural hazards such as Ice Spikes, Floating Rubble, and Brittle Ice Pillars. By triggering these elements onto a Hirabami’s head, you can temporarily stun and damage the creature, creating valuable openings for offense.
Aim for the Head
Targeting the head is always ideal when battling Hirabami, though its floating nature complicates things. Ranged hunters can easily reach this weak point, while melee users should watch for moments when the monster descends and aim for the neck instead. Avoid wasting energy attacking the torso—it's heavily armored and resists most strikes.
Watch the Tail
Hirabami’s erratic movement patterns make it a tricky opponent. It frequently lunges forward with bites, spits projectiles, and performs aerial dive attacks. Stay alert and keep moving to avoid incoming damage. Most importantly, never lose sight of its tail—it uses it like a club to smash anything behind it. Maintain positioning to the sides or front to stay safe.
Related: All Monster Hunter Wilds Voice Actors
How to Capture Hirabami in Monster Hunter Wilds
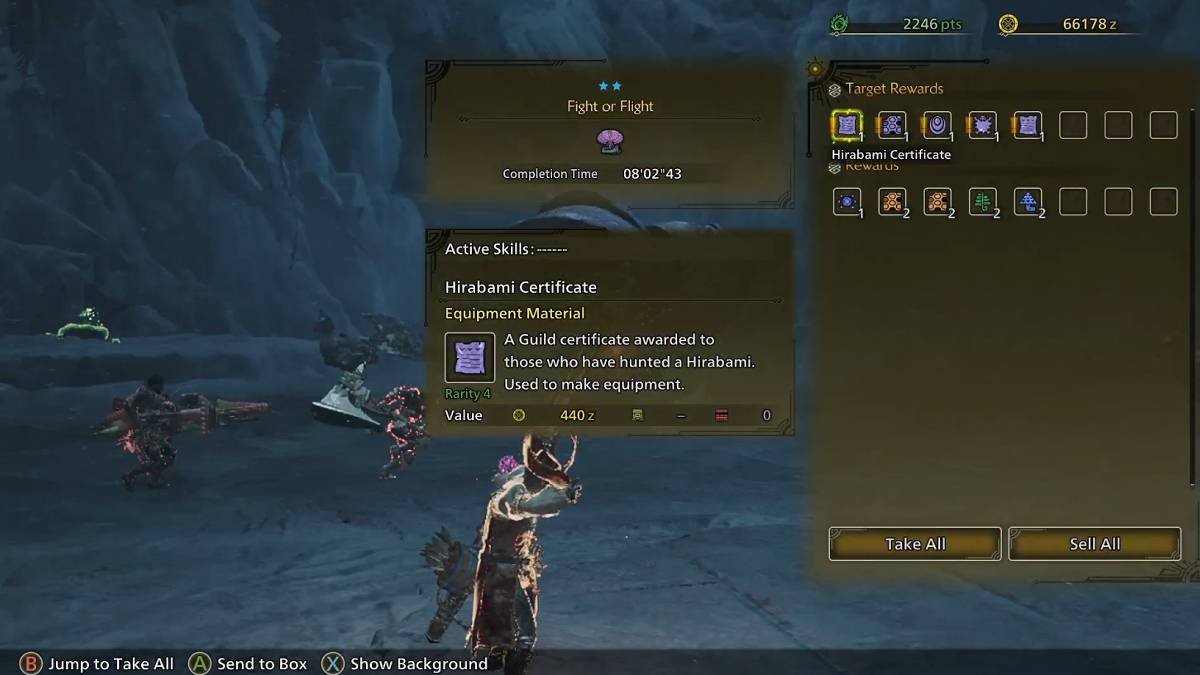
Screenshot by The Escapist
To successfully capture a Hirabami, reduce its health to 20% or lower. When this threshold is reached, a skull icon will appear next to the monster’s marker on your minimap. At this point, quickly deploy a trap—either a Pitfall Trap or a Shock Trap works well.
Once the creature is immobilized, immediately use a Tranquilizer to knock it unconscious. Timing is crucial—you only have a few seconds before it breaks free and escapes. Successfully capturing the monster ends the fight and grants standard rewards, although it may limit your chance to collect bonus materials from breaking specific body parts.
This concludes our complete guide to defeating and capturing Hirabami in *Monster Hunter Wilds*. Don’t forget to stock up on Large Dung Pods or consider using the SOS Flare system to summon help if the battle gets too intense.
*Monster Hunter Wilds* is available now on PlayStation, Xbox, and PC.
Latest Articles
Japan Gaming Stocks Dive on Trump Tariffs
Japanese video game companies experienced a significant stock market downturn following President Donald Trump's announcement of new tariffs.White House officials indicated targeted reciprocal tariffs on approximately 60 nations deemed "worst offende
It And Annabelle Writer-Producer Secures Screen Rights For The Medium: 'Anything Bloober Develops Is Going To Push Horror Forward In Unique And Terrifying Ways'
It and Annabelle writer-producer Gary Dauberman is preparing to bring Bloober Team’s The Medium to the big screen.As reported by Hollywood Reporter, Dauberman has secured the film rights to Bloober's intense horror title, though a director and scree

Sinners Hits $350M, Released Digitally
Director Ryan Coogler continues his winning streak. As Eric Goldman notes in his IGN review: "Having mastered boxing dramas and superhero films, Coogler now conquers horror with the vampire period piece Sinners. And unsurprisingly, he delivers anothe

Monument Valley 3 Documentary Reveals The Making Of
Ustwo Games has released a short documentary, "Building the Impossible: The Making of Monument Valley 3." The game arrived on PC and consoles last week, and this new video offers a deeper insight into the creative process behind the latest puzzle-adv
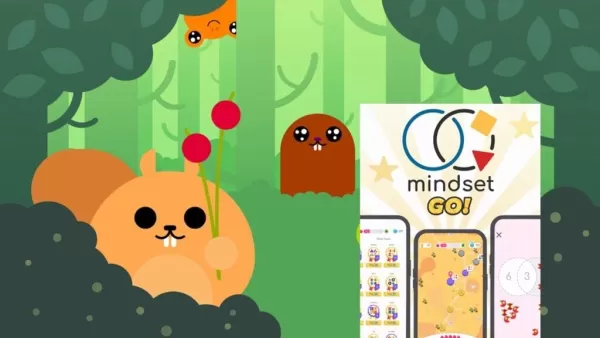
Mindset GO! Launches New Venn Diagram Puzzle Game
Mindset GO! elevates the smart-casual puzzle genre to a new level. Now available on Android, iOS, and the web, it merges keen observation with logical reasoning through a unique gameplay mechanic. Developed by Magicave, the game features a system rem

Hello, Mario! is a new made-for-kids app as part of Nintendo\'s big Mario push
Hello, Mario! is Nintendo’s latest venture into the Mario lifestyle experience.
It’s part of the new My Mario product line.
Gently poke, prod, or pinch Mario’s face—just like in the N64 version—to trigger a range of playful reactions. Those who grew
Latest Games

Secret Forest
Card丨28.10M


Lucky Devil
Card丨82.40M


Southern Poker
Card丨2.00M

Gabbys DollHouse Tiles Hop
Music丨66.80M


Top News
MORE +


01
02-03
Roblox: Anime Adventures Codes (January 2025)
Anime Adventures Codes: A Comprehensive Guide to Free Gems and Rewards
This guide provides an up-to-date list of working and expired Anime Adventures codes in Roblox. Redeeming these codes grants valuable in-game gems and other rewards, giving you a head start in your adventure.
Updated January 5,
02
05-26
Enhance Your MU Immortal Experience with BlueStacks Features
MU Immortal captures the essence of classic MMORPG gameplay that fans adore—leveling up, enhancing stats, and crafting your ideal character. Designed primarily for mobile, the game truly shines when played on a PC using BlueStacks, thanks to an array of tools that streamline and enhance your gaming
03
05-16
"Clair Obscur: Expedition 33 Hits 1 Million Sales in 3 Days"
Clair Obscur: Expedition 33 has taken the gaming world by storm, achieving a phenomenal opening weekend by selling over 1 million copies just three days after its launch. This remarkable feat cements its status as the highest player-rated game of early 2025. Dive deeper into the journey of this grou
04
04-21
Roblox Anime Genesis: January 2025 Codes
Dive into the thrilling world of Anime Genesis, a dynamic tower defense game on Roblox where you assemble a squad of your favorite anime characters to fend off menacing monsters. Whether you're tackling levels solo or teaming up with friends, you'll earn gems that you can use to summon new heroes, e
05
01-20
New DLC and Preorder for FANTASIAN
FANTASIAN Neo Dimension: DLC and Pre-order Information
While anticipation for extra content is high, a FANTASIAN Neo Dimension DLC or story expansion is unlikely. Mistwalker head Hironobu Sakaguchi has stated his preference against sequels, aiming for complete, self-contained gaming experiences.
Topics
More +