How to Connect Your PlayStation VR2 Headset to a PC: Step-by-Step Guide
Author : Penelope
Mar 17,2025
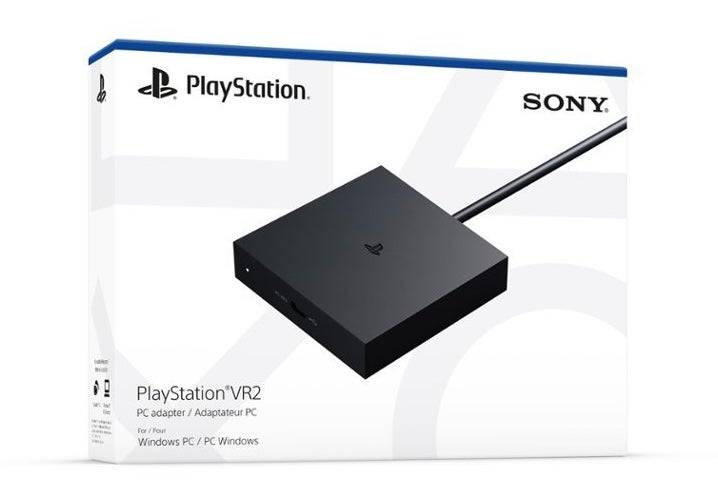
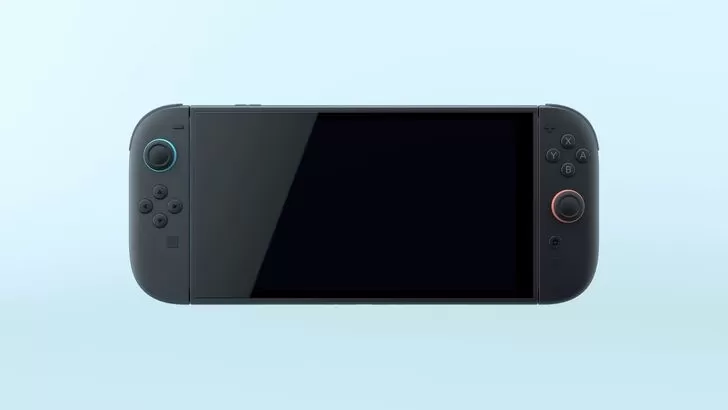
Connecting your PlayStation VR2 headset to a gaming PC for access to SteamVR's extensive library has been surprisingly tricky until recently. Sony's $60 adapter, released last fall, bridges this gap, allowing PS VR2 owners to enjoy PC VR gaming—provided your PC meets the minimum specifications. However, despite its "plug-and-play" marketing, some setup is often required depending on your PC configuration.
Connecting Your PS VR2 to Your PC with the Adapter
Before you begin, ensure you have everything needed. The PS VR2, via the adapter, is compatible with most SteamVR games, but you'll need: sufficient Bluetooth 4.0 connectivity, a DisplayPort 1.4 cable, a free AC power outlet, the PlayStation VR2 and SteamVR apps (installed on Steam), and two USB-C charging ports (or a Sense controller charging station) with cables for the controllers.
What You'll Need
First, verify your PC's compatibility using Sony's official PS VR2 PC Adapter preparation page. Assuming compatibility, gather these items:
- PlayStation VR2 headset
- PlayStation VR2 PC adapter (includes AC adapter and USB 3.0 Type-A cable)
- DisplayPort 1.4 cable (sold separately)
- Free USB 3.0 Type-A port on your PC (note: Sony advises against extension cables or external hubs, though a powered external hub may work)
- Bluetooth 4.0 capability (built-in or via an external adapter)
- Steam and SteamVR installed on your PC
- The PlayStation VR2 app installed on Steam
Step-by-Step Connection Instructions
Install necessary software: Download and install the Steam Windows client, SteamVR, and the PlayStation VR2 app.
Set up Bluetooth and pair controllers: Enable Bluetooth in your PC's settings. On each Sense controller, hold the PlayStation and Create buttons until the light blinks. Pair them with your PC via the "Add device" option in Bluetooth settings. If using an external Bluetooth adapter alongside a built-in one, disable the built-in adapter in Device Manager.
Connect the adapter: Plug the PS VR2 adapter into a USB 3.0 Type-A port. Connect it to your GPU's DisplayPort 1.4 slot using the cable. Connect the AC power adapter. The adapter's indicator will turn solid red when powered on. Connect the PS VR2 to the adapter via its USB-C port.
(Optional) Disable Hardware-accelerated GPU scheduling: For newer GPUs (e.g., Nvidia RTX 40-series), disabling this in Graphics settings might improve stability. Restart your PC afterwards.
Launch apps and set up the headset: Power on the PS VR2 headset. Launch SteamVR and set it as your default OpenXR runtime. Open the PlayStation VR2 app to update controller firmware and set up the headset (Play Area, IPD, display distance, fit).
Enjoy! Once setup is complete, you're ready to play SteamVR games.
Connecting Without the Adapter?
Currently, direct connection without the adapter is unreliable. While some reports suggest it might be possible with certain 2018-era GPUs featuring VirtualLink and a USB-C port (as discussed on Road to VR), this is not officially supported.
Latest Articles
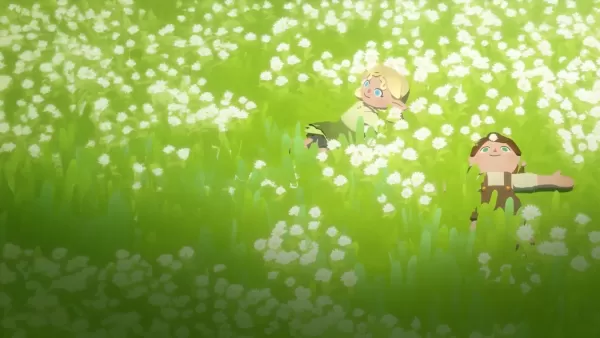
Humblets: Cozy Co-op Adventure Revealed for PC
Developer Berry Bite and publisher HypeTrain Digital have unveiled Humblets, an upcoming cozy cooperative adventure for PC. Set within a charming procedurally generated world, the game promises vibrant landscapes, cute companion pets, and a magical c
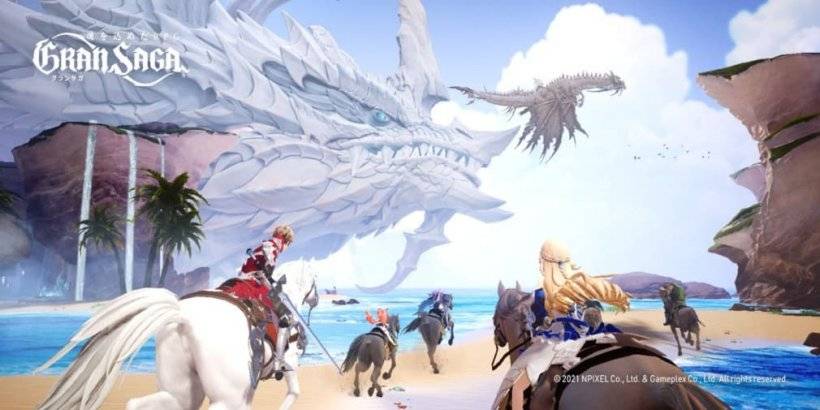
Gran Saga shuts down next month
Gran Saga Announces Official ShutdownNPIXEL has confirmed Gran Saga will cease operations permanently on April 30th, 2025. The developers have already disabled in-app purchases and downloads ahead of the closure.A Brief International RunAfter launchi
Snowbreak adds Vidya - Celestial Swan in Fragments of Truth update
Expand your team with Vidya - Celestial SwanDiscover new costumes and gameplay optionsExperience the enhanced Spectral Fantasies eventFollowing the Abyssal Dawn update, Seasun Games introduces "Fragments of Truth" to Snowbreak: Containment Zone, brin

Worms-Style Ballistic Hero VNG Launches in Anime Universe
Ballistic Hero VNG offers a fresh take on the classic Worms-style formula.Annihilate your enemies (or friends) with a vast arsenal of outrageous weapons.Unlock exciting new loadouts and limited-edition skins, or design your own unique fighter.When it
Fortnite's Top Female Character Skins
Fortnite, Epic Games' groundbreaking battle royale, has captured massive appeal not just for its exciting gameplay but also for its constantly expanding assortment of character outfits. Female skins, in particular, are celebrated for their fashionabl

Firefighting Sim Emergency Call 112 Launches on Android
Emergency Call 112 – The Attack Squad arrives today on Android. Published by Aerosoft and developed by Crenetic, this game plunges you into the life of a firefighter. It was first released for PC in December 2023.What Are the Features?In the mobile e
Latest Games
Bleach vs Naruto
Action丨99.59M

Succubus Challenge
Casual丨83.20M

Acquainted
Casual丨115.01M


One Day at a Time
Casual丨907.00M

Nemurimouto (v0.07)
Casual丨126.20M

Crazy Balls
Puzzle丨73.90M
3D Pinball
Puzzle丨8.00M


Top News
MORE +
01
02-03
Roblox: Anime Adventures Codes (January 2025)
Anime Adventures Codes: A Comprehensive Guide to Free Gems and Rewards
This guide provides an up-to-date list of working and expired Anime Adventures codes in Roblox. Redeeming these codes grants valuable in-game gems and other rewards, giving you a head start in your adventure.
Updated January 5,
02
05-26
Enhance Your MU Immortal Experience with BlueStacks Features
MU Immortal captures the essence of classic MMORPG gameplay that fans adore—leveling up, enhancing stats, and crafting your ideal character. Designed primarily for mobile, the game truly shines when played on a PC using BlueStacks, thanks to an array of tools that streamline and enhance your gaming
03
05-16
"Clair Obscur: Expedition 33 Hits 1 Million Sales in 3 Days"
Clair Obscur: Expedition 33 has taken the gaming world by storm, achieving a phenomenal opening weekend by selling over 1 million copies just three days after its launch. This remarkable feat cements its status as the highest player-rated game of early 2025. Dive deeper into the journey of this grou
04
04-21
Roblox Anime Genesis: January 2025 Codes
Dive into the thrilling world of Anime Genesis, a dynamic tower defense game on Roblox where you assemble a squad of your favorite anime characters to fend off menacing monsters. Whether you're tackling levels solo or teaming up with friends, you'll earn gems that you can use to summon new heroes, e
05
01-20
New DLC and Preorder for FANTASIAN
FANTASIAN Neo Dimension: DLC and Pre-order Information
While anticipation for extra content is high, a FANTASIAN Neo Dimension DLC or story expansion is unlikely. Mistwalker head Hironobu Sakaguchi has stated his preference against sequels, aiming for complete, self-contained gaming experiences.
Topics
More +